Blog · Photography · 10 min read
How to shoot cocktail bar photography that people want to order.
The lighting, settings and gear I use to photograph cocktails in real, working bars around St. Pete. Every number on this page comes from the camera data of photos I shot for our clients.
By Grant, co-founder of Orange Grove Social · Updated October 2026
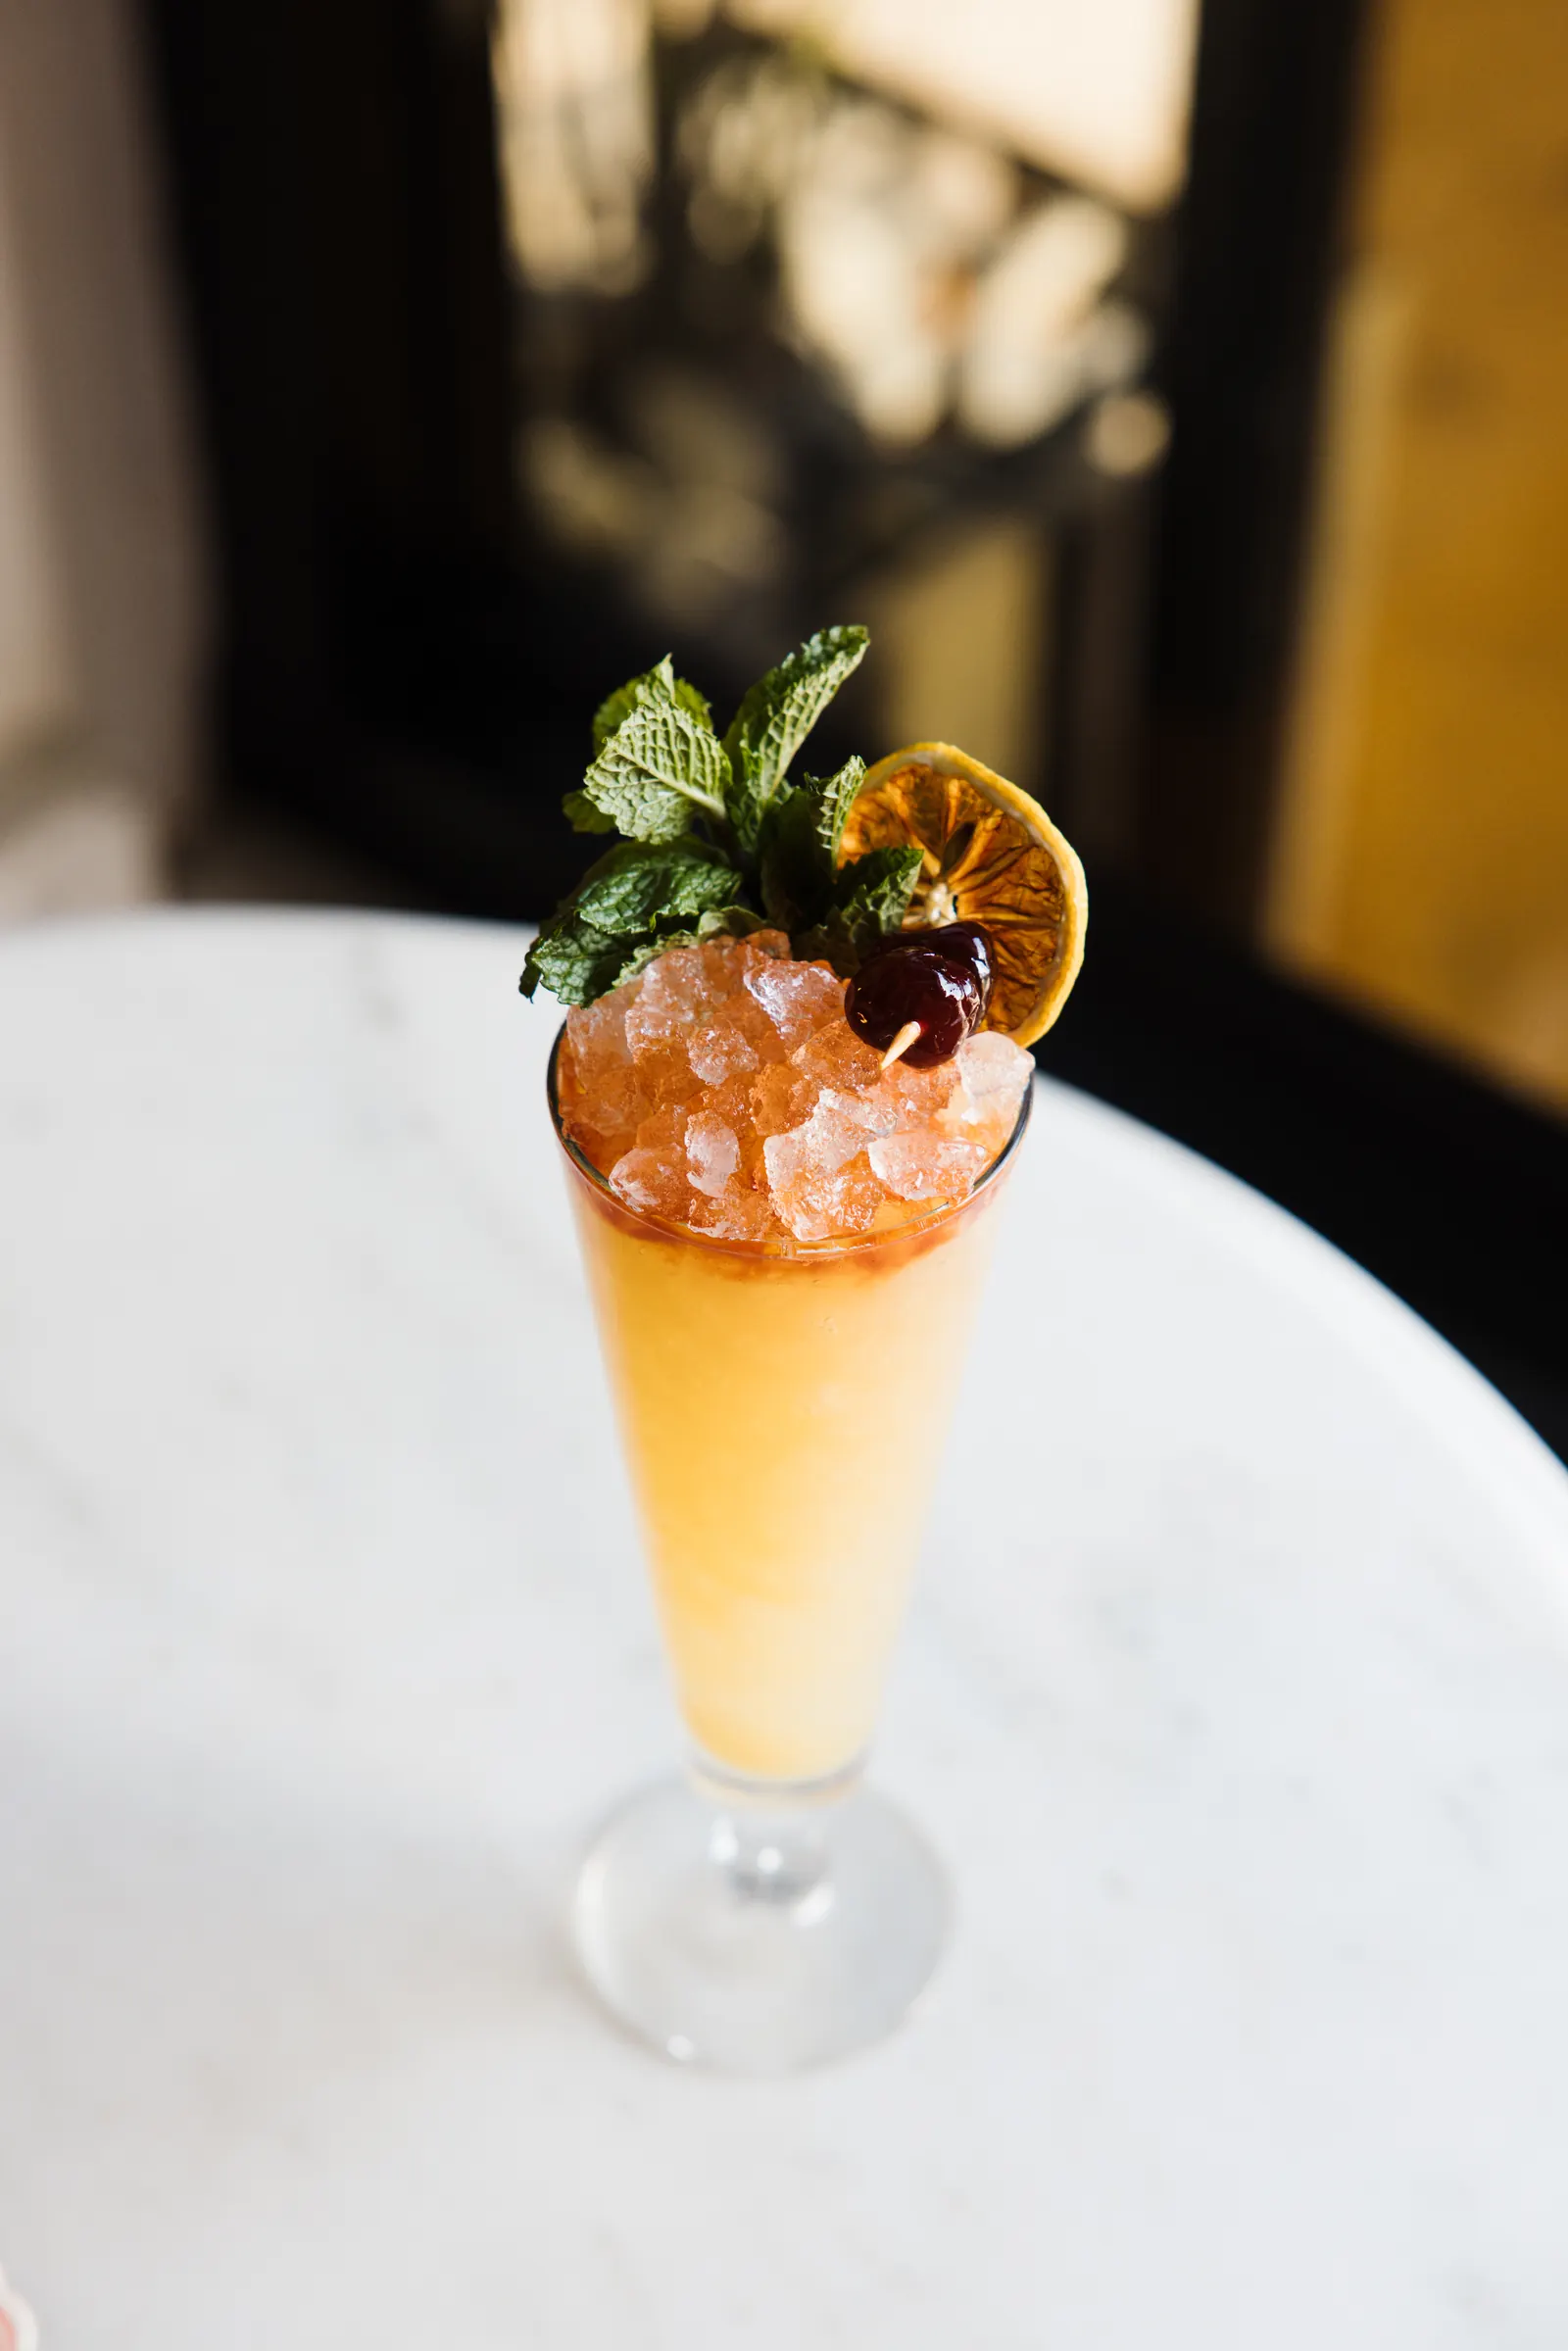
Cocktails are some of the hardest things I shoot. The glass reflects everything in the room, the ice starts melting the second the bartender sets it down, and the bars that make the best drinks are usually dark on purpose. Get it wrong and a $16 drink looks like a cup of watered-down juice.
Get it right and the photo does the selling. People see it on Instagram, save it, and show up asking for that drink by name.
Below is how I actually do it: the four light sources I use, the settings I shoot at, how I get motion into a frame, and how I work inside a bar that's open for business.
Cocktail photography settings cheat sheet
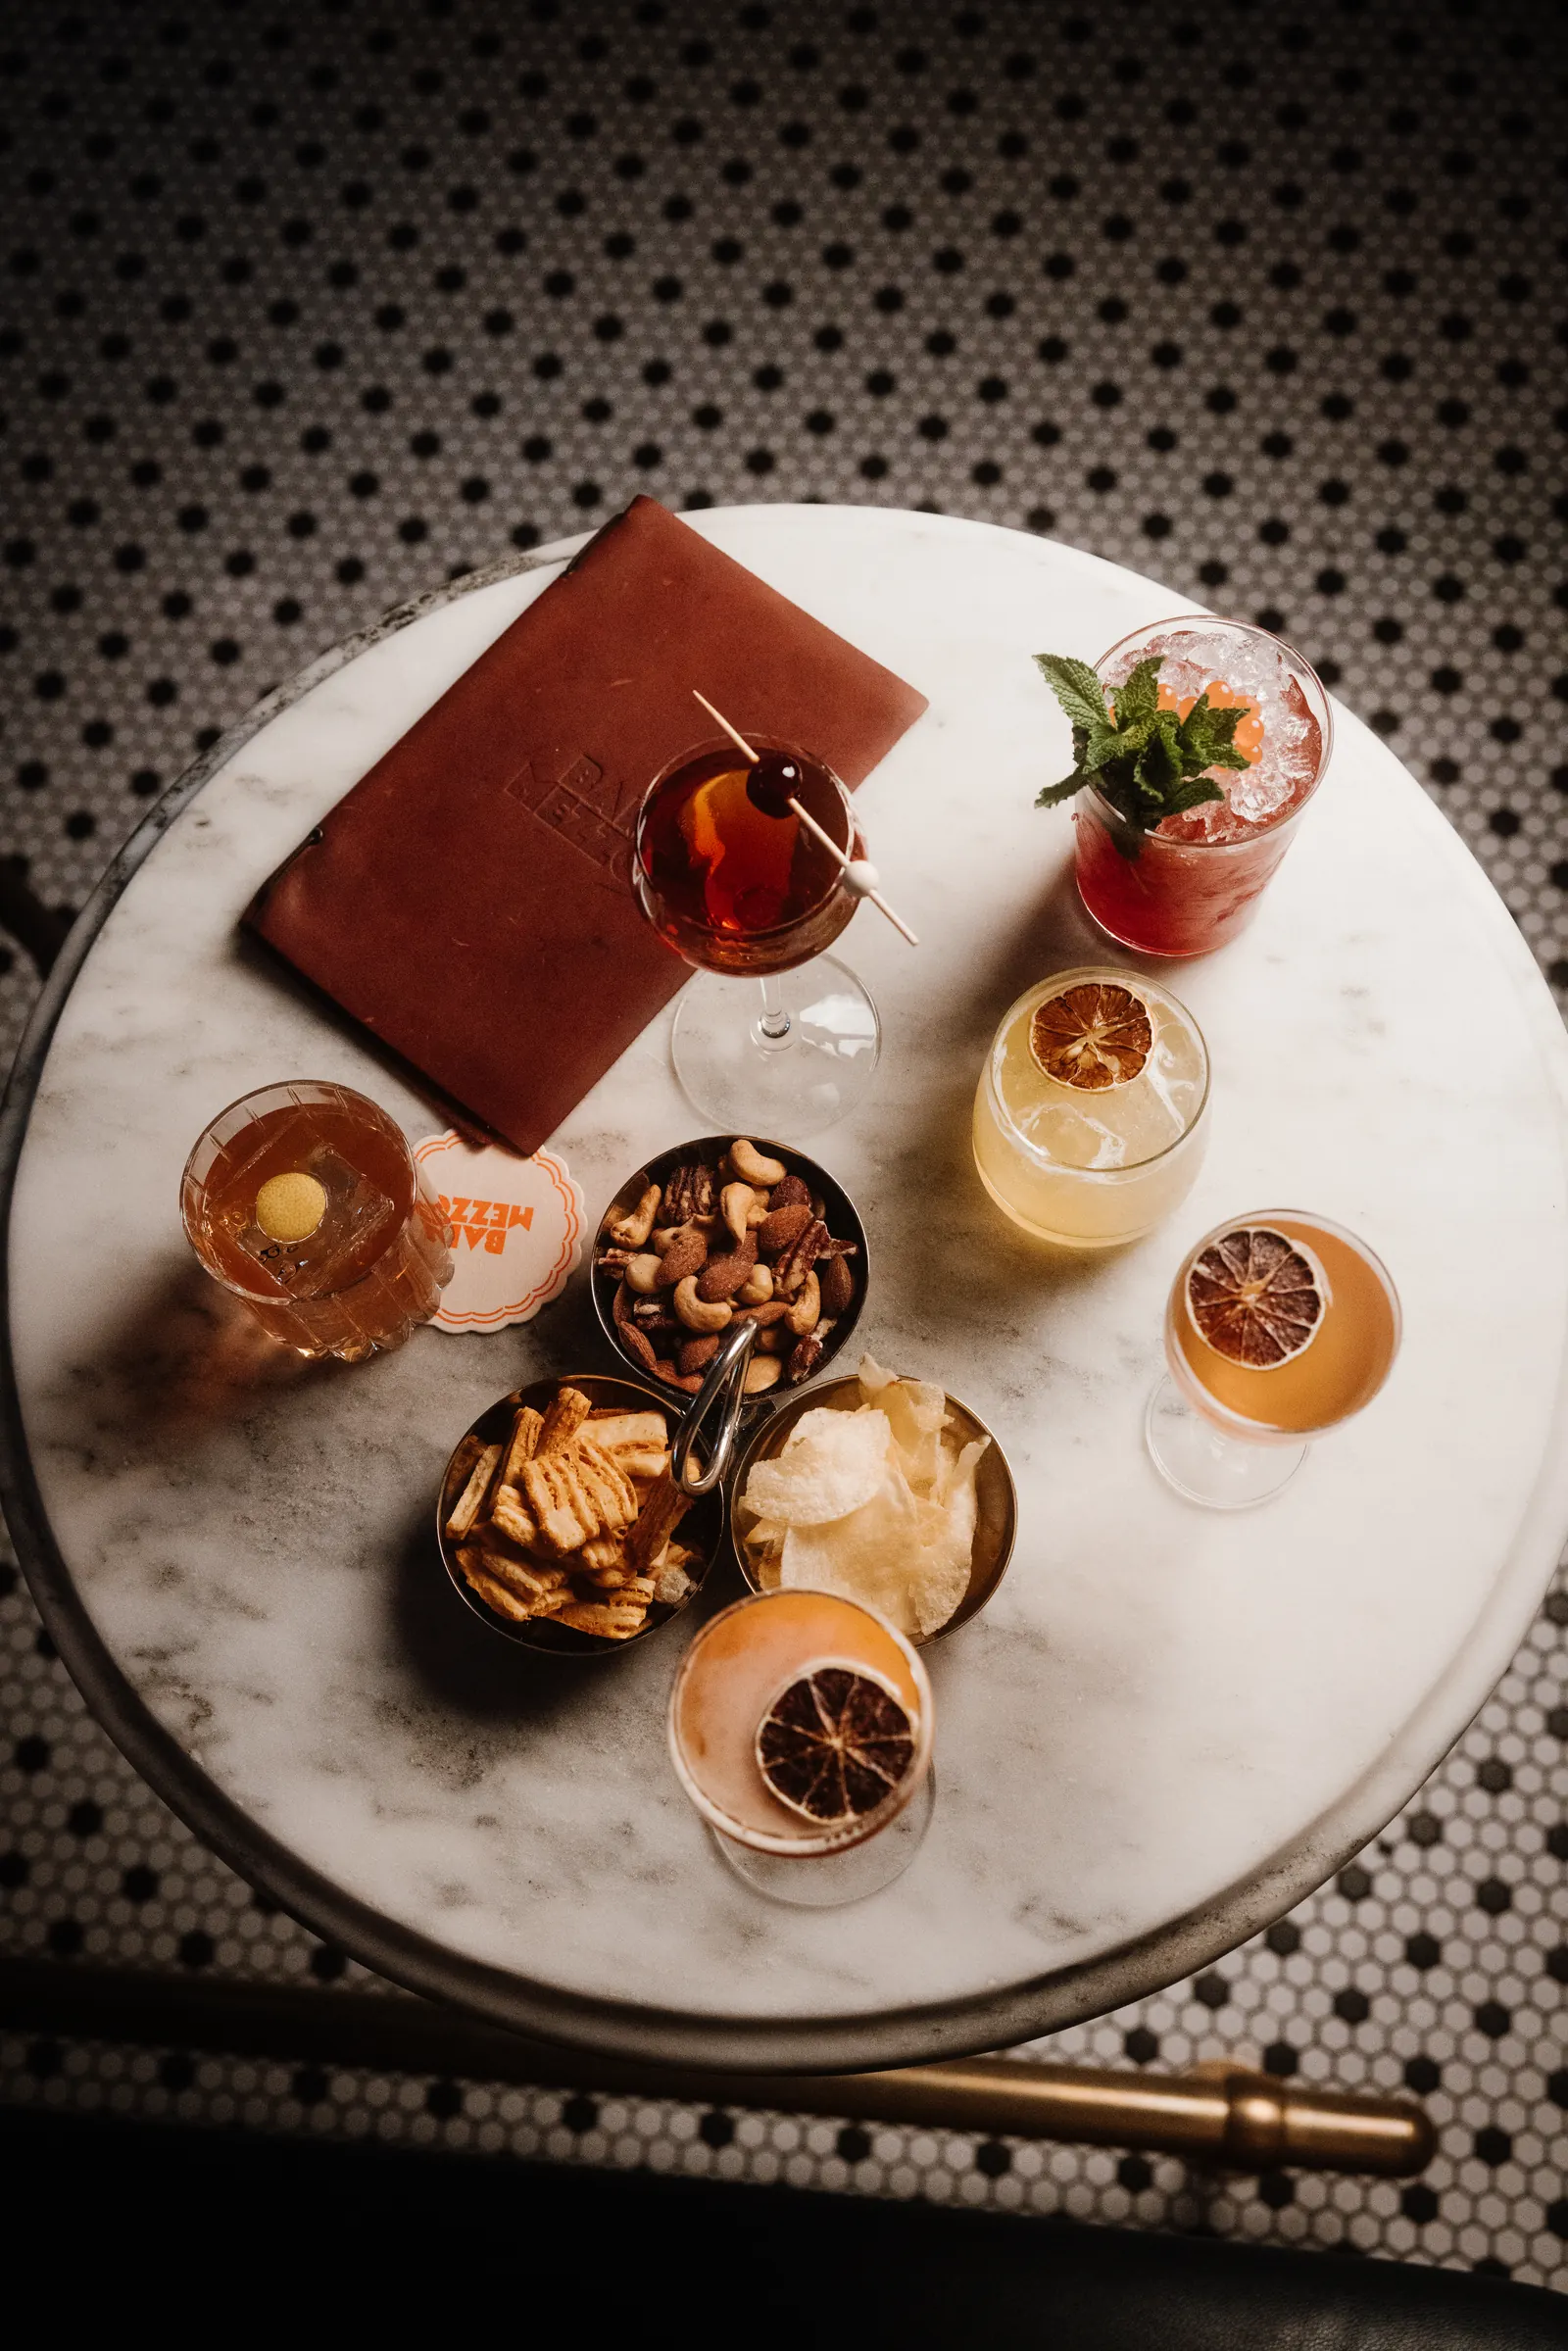
Most tutorials skip the numbers. Here are mine, pulled straight from the camera data on our Bar Mezzo and Intermezzo shoots. Nearly every frame was shot on a Canon R5 or R5 C with the RF 24-70mm f/2.8.
| The shot | Shutter | Aperture | ISO | Focal length |
|---|---|---|---|---|
| Hero drink on the bar or table | 1/250 to 1/320 s | f/2.8 to f/5.6 | 400 to 1250 | 60 to 70mm |
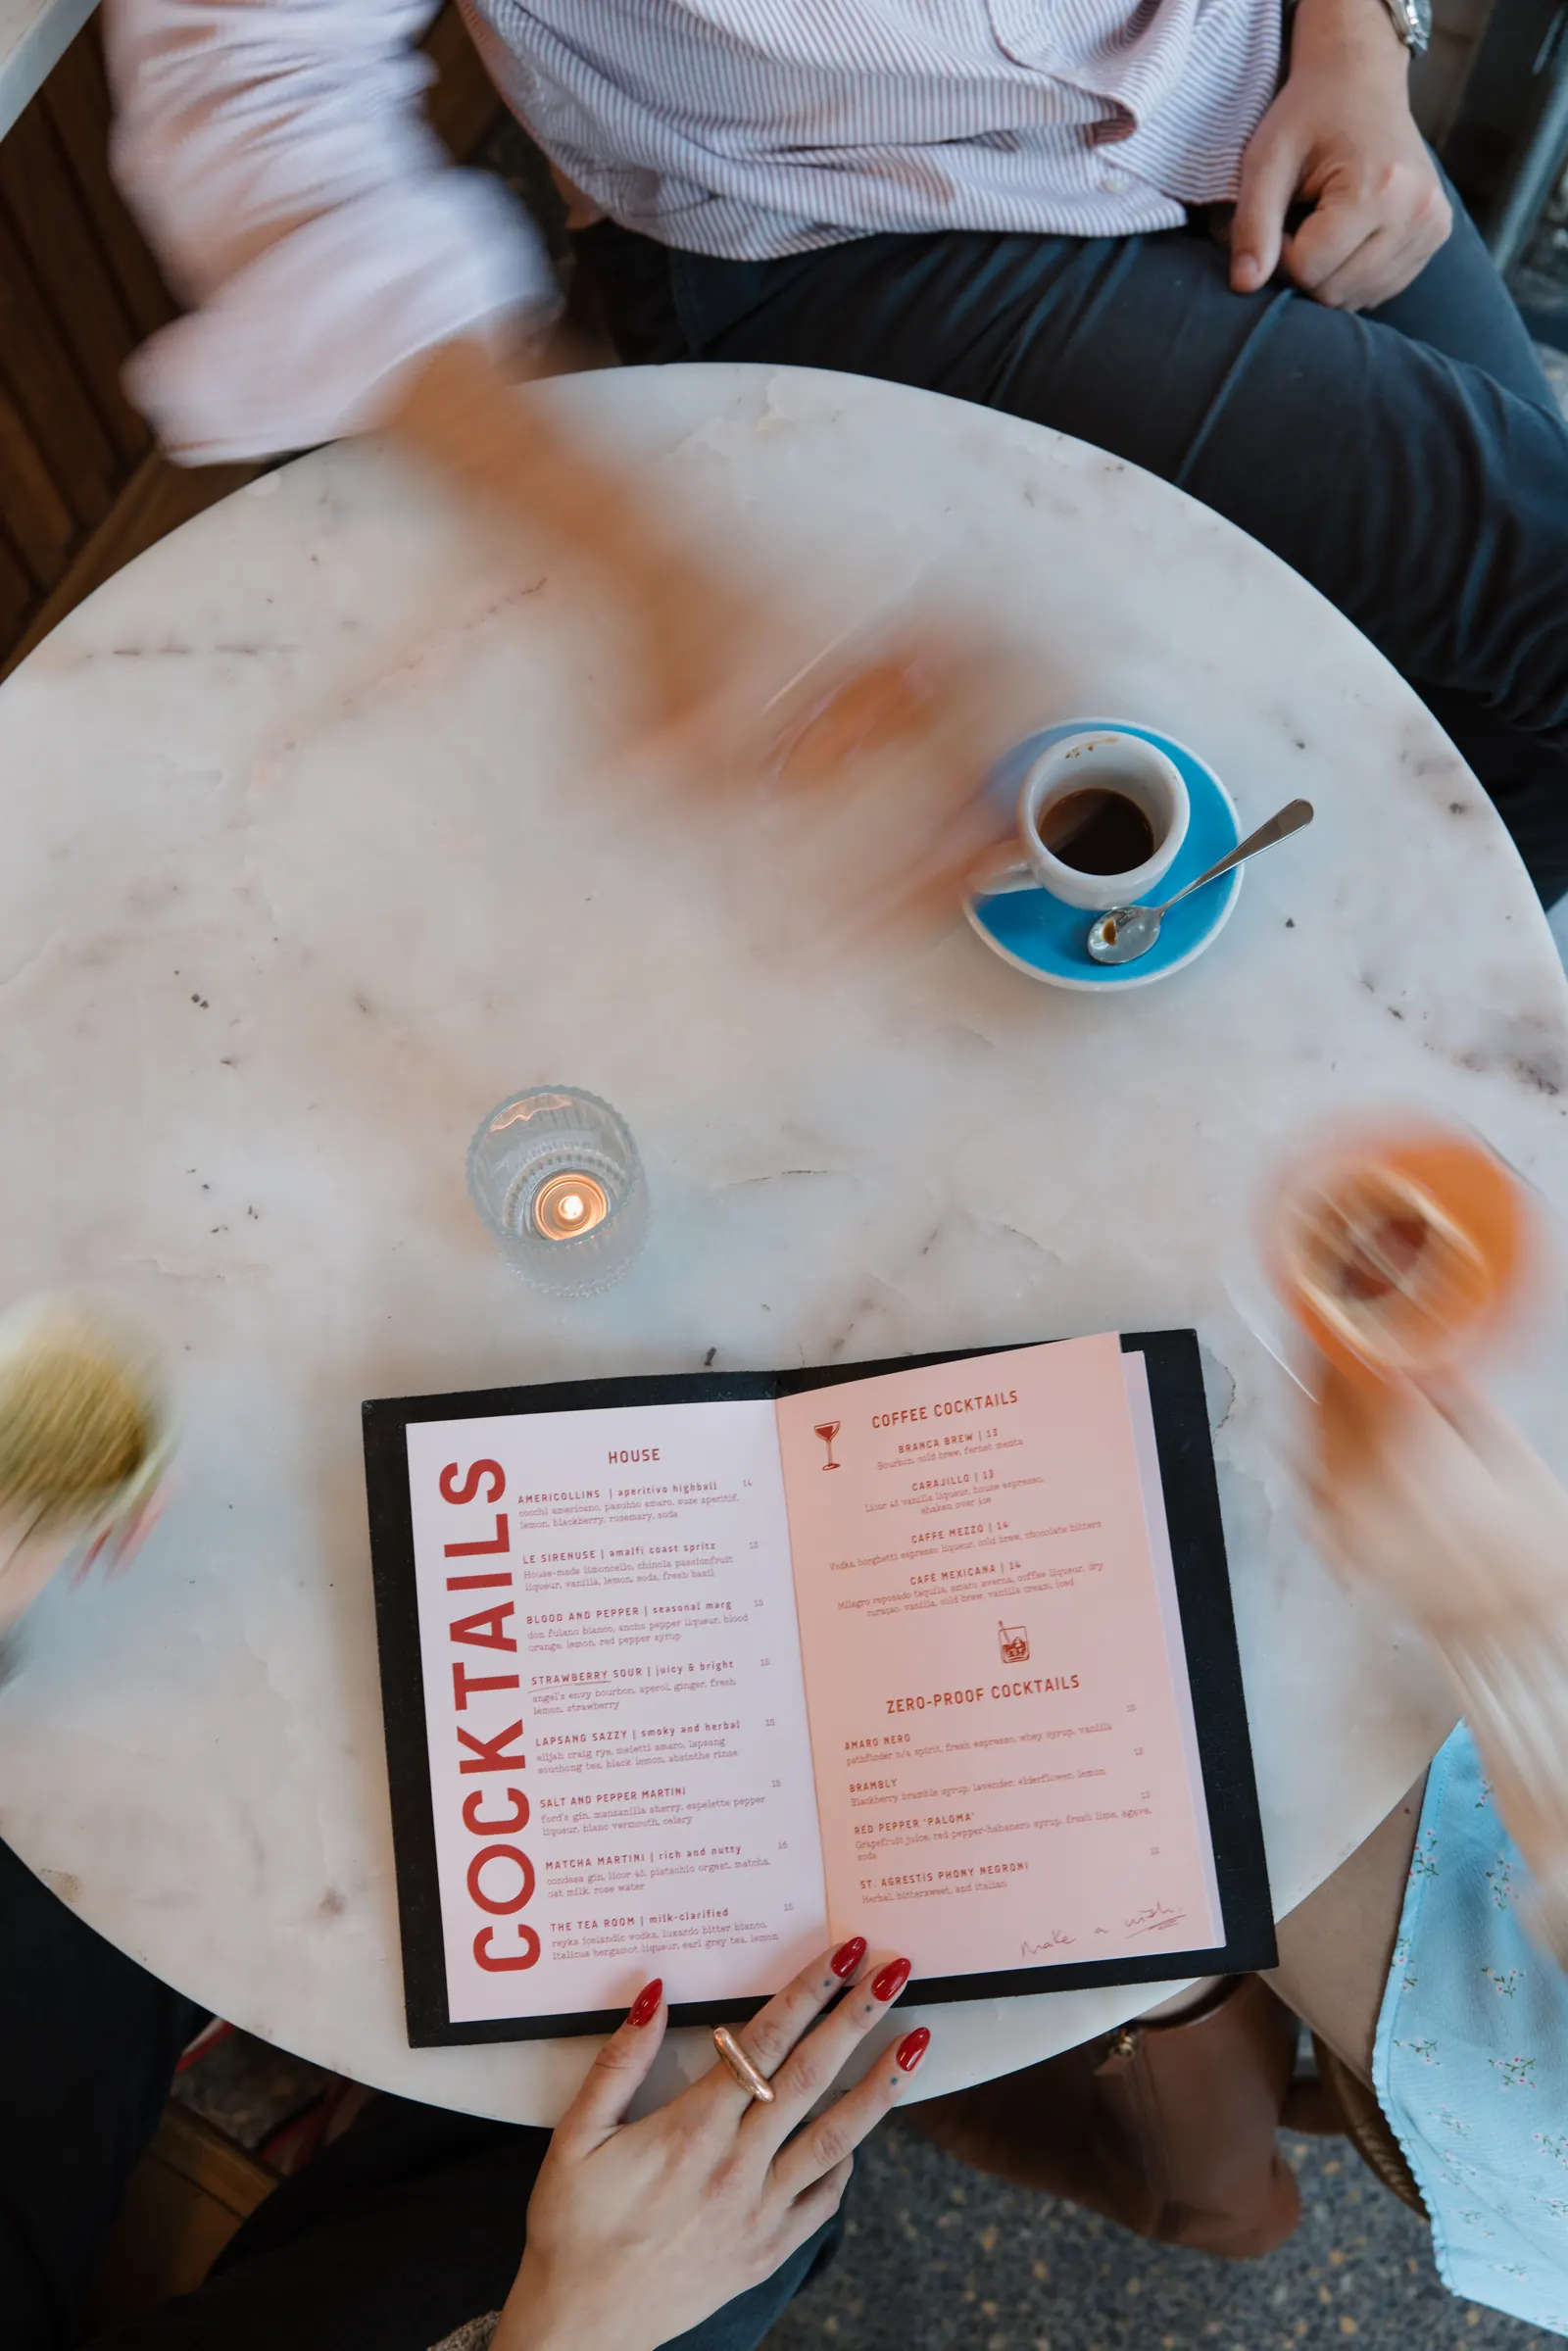
| Overhead spread of drinks and snacks | 1/320 s | f/5 | up to 5000 in a dark room | around 40mm |
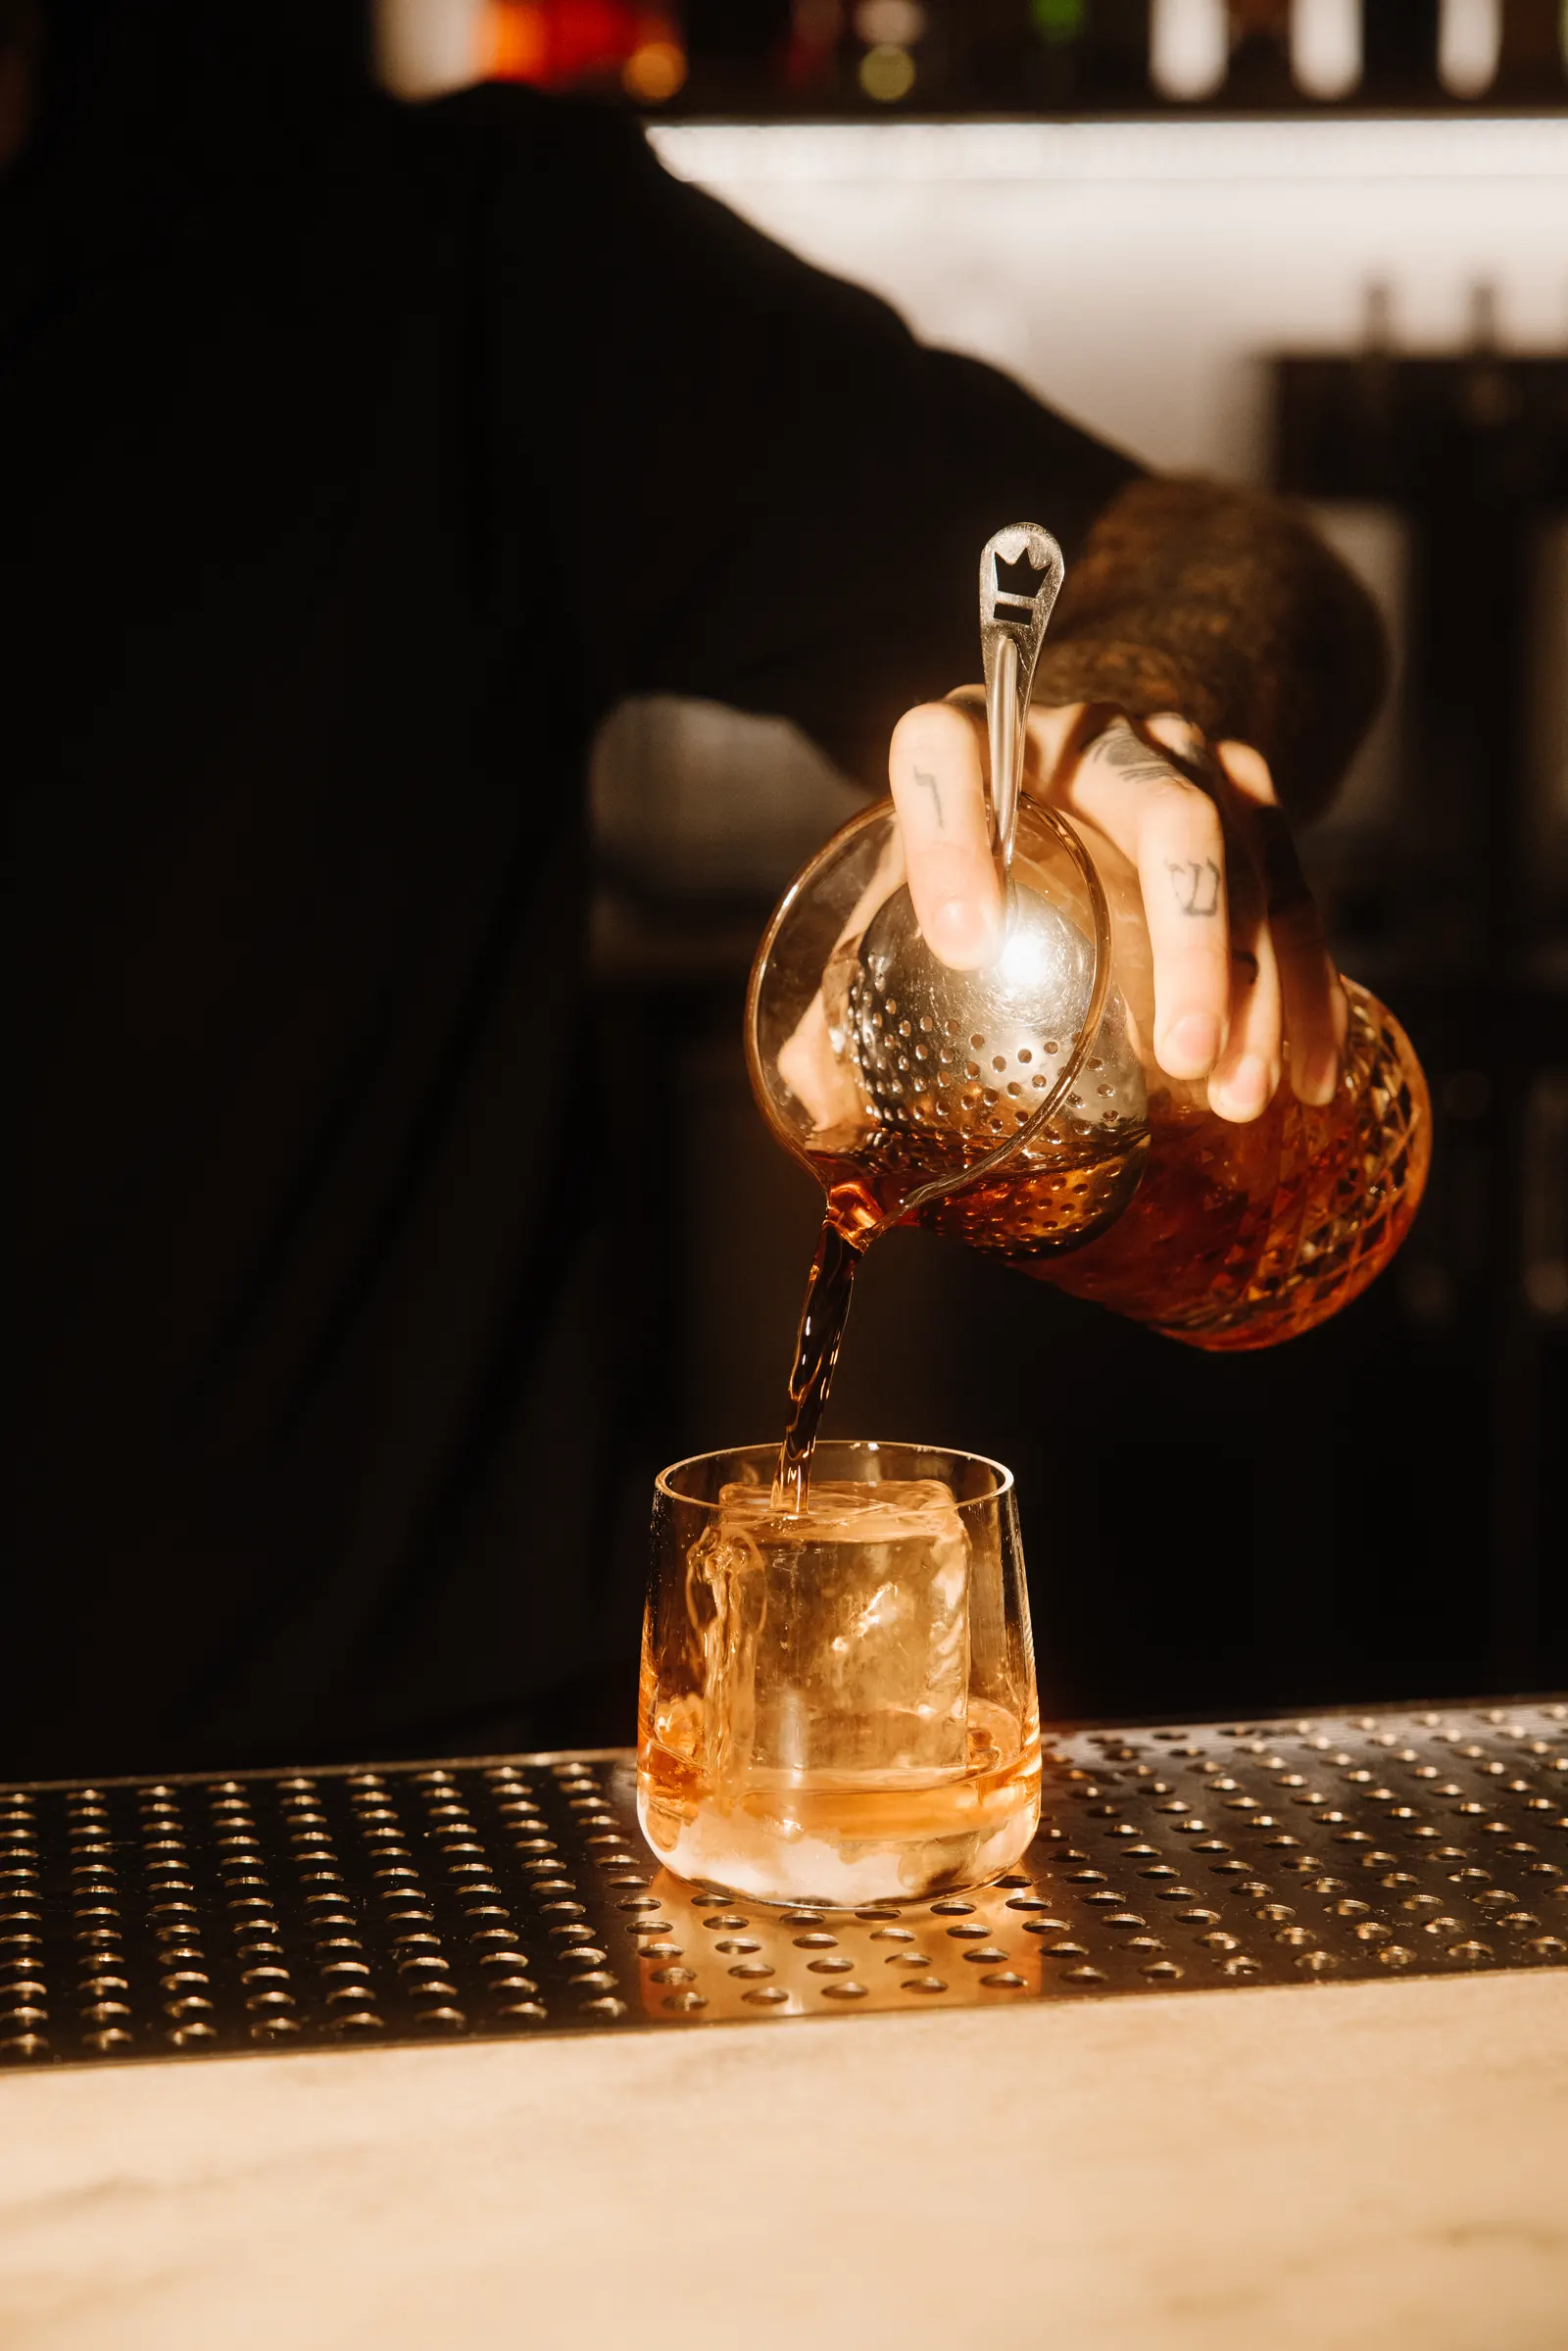
| Pour or garnish in hand | 1/250 to 1/320 s | f/3.5 to f/4.5 | 1250 to 2000 | 64 to 70mm |
| Motion: shaker, tray, people walking | 1/8 to 1/15 s | f/4 to f/5.6 | 100 to 800 | 38 to 56mm |
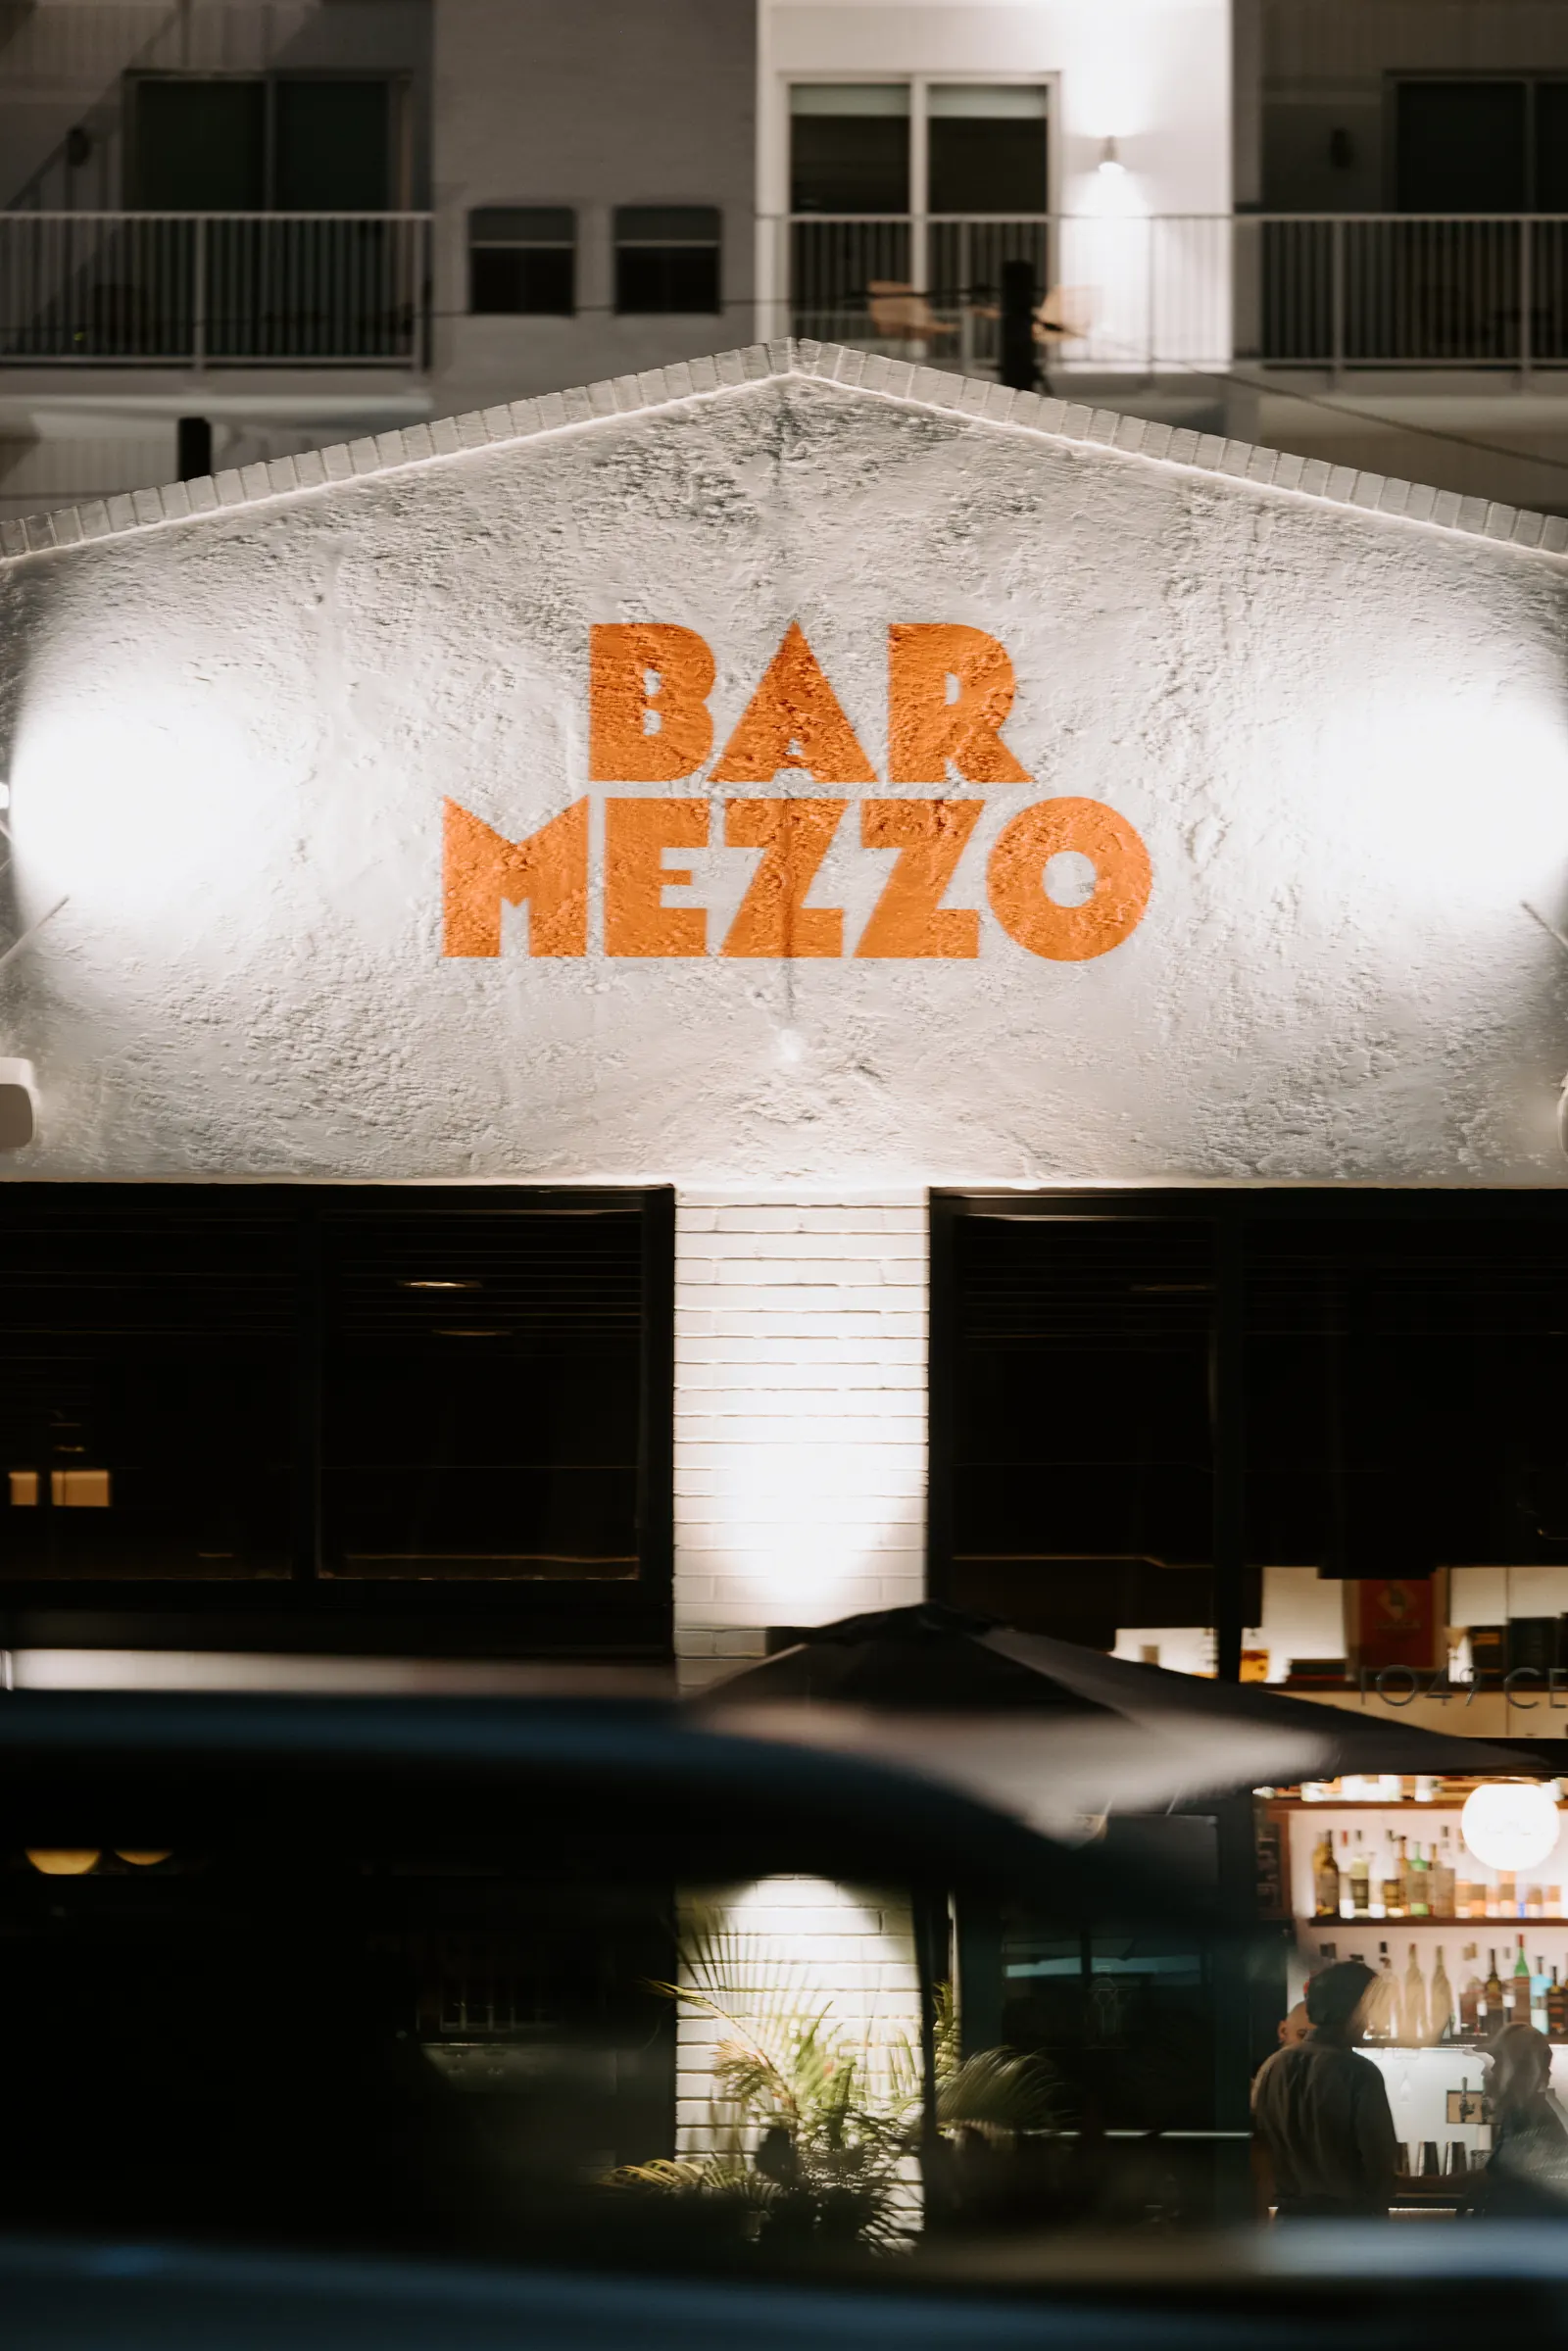
| Sign or room at night | 1/10 s | f/2.8 | 400 | 158mm (70-200) |
Two patterns jump out. First, I live at the long end of the zoom. At 70mm the background compresses into soft bar lights and the glass keeps its true shape instead of bending like it does at 24mm. Second, I'm not afraid of ISO. The R5 holds up fine at 1250 to 2000, and a clean, slightly grainy drink beats a muddy one every time.
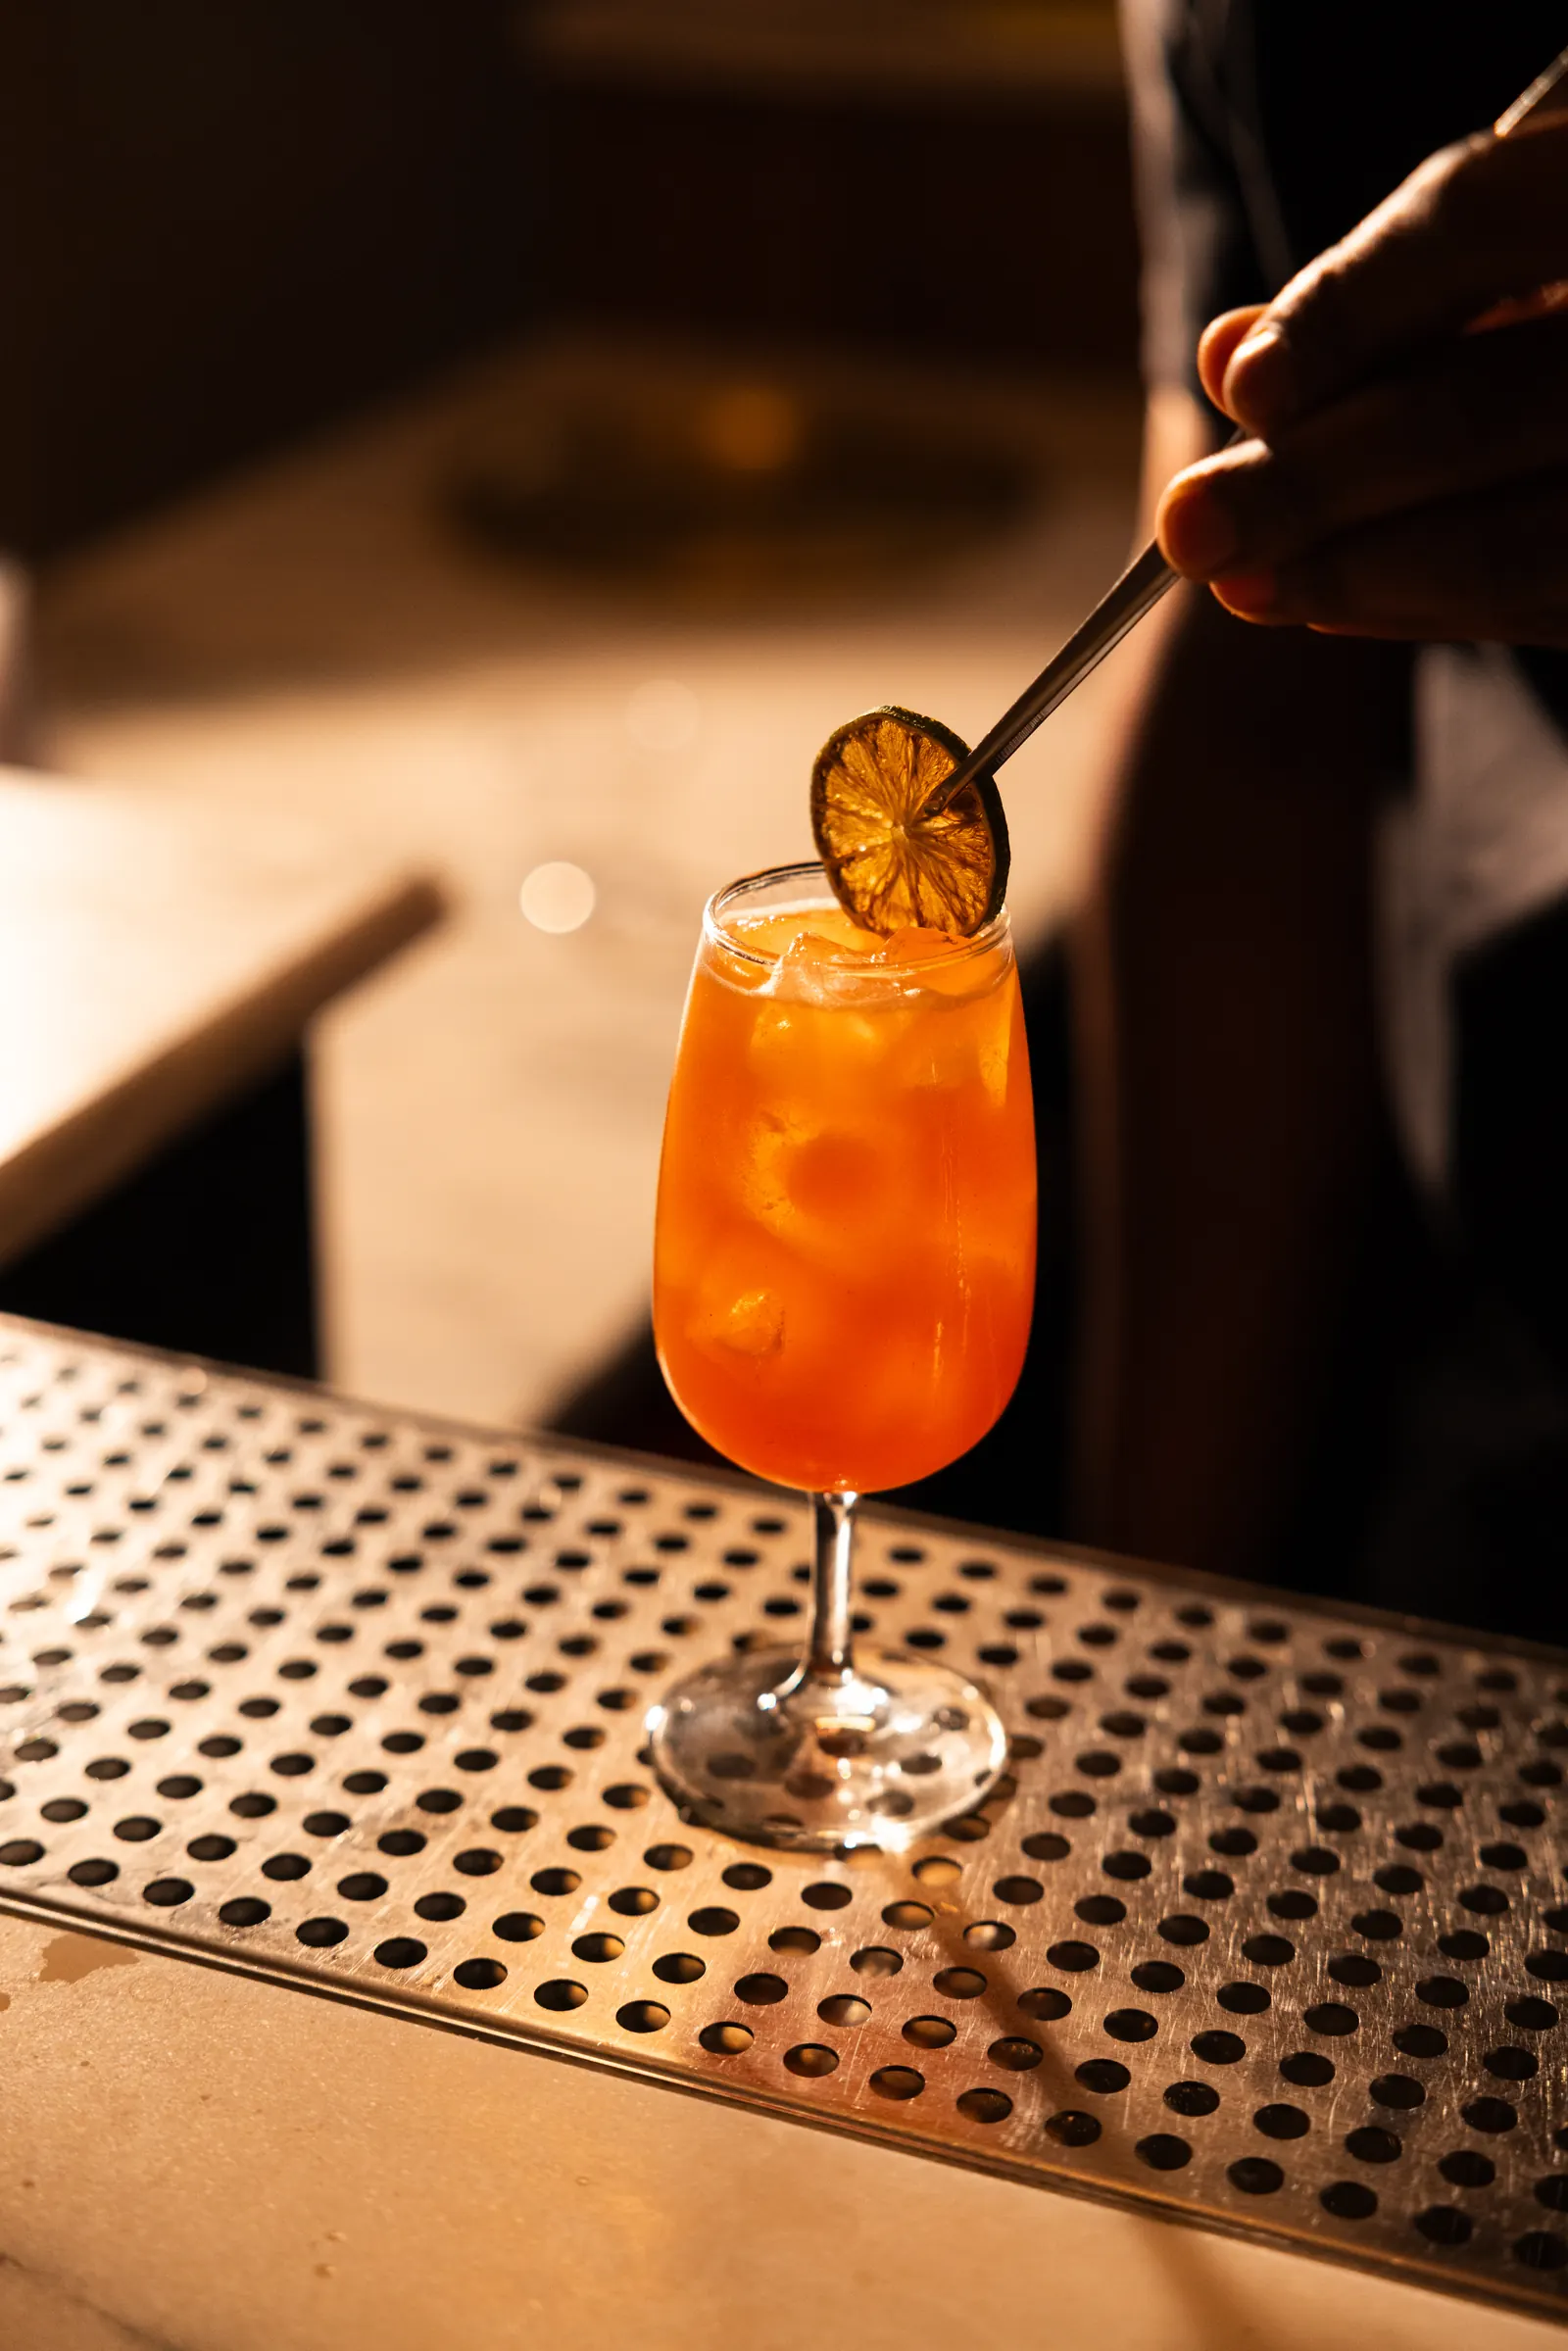
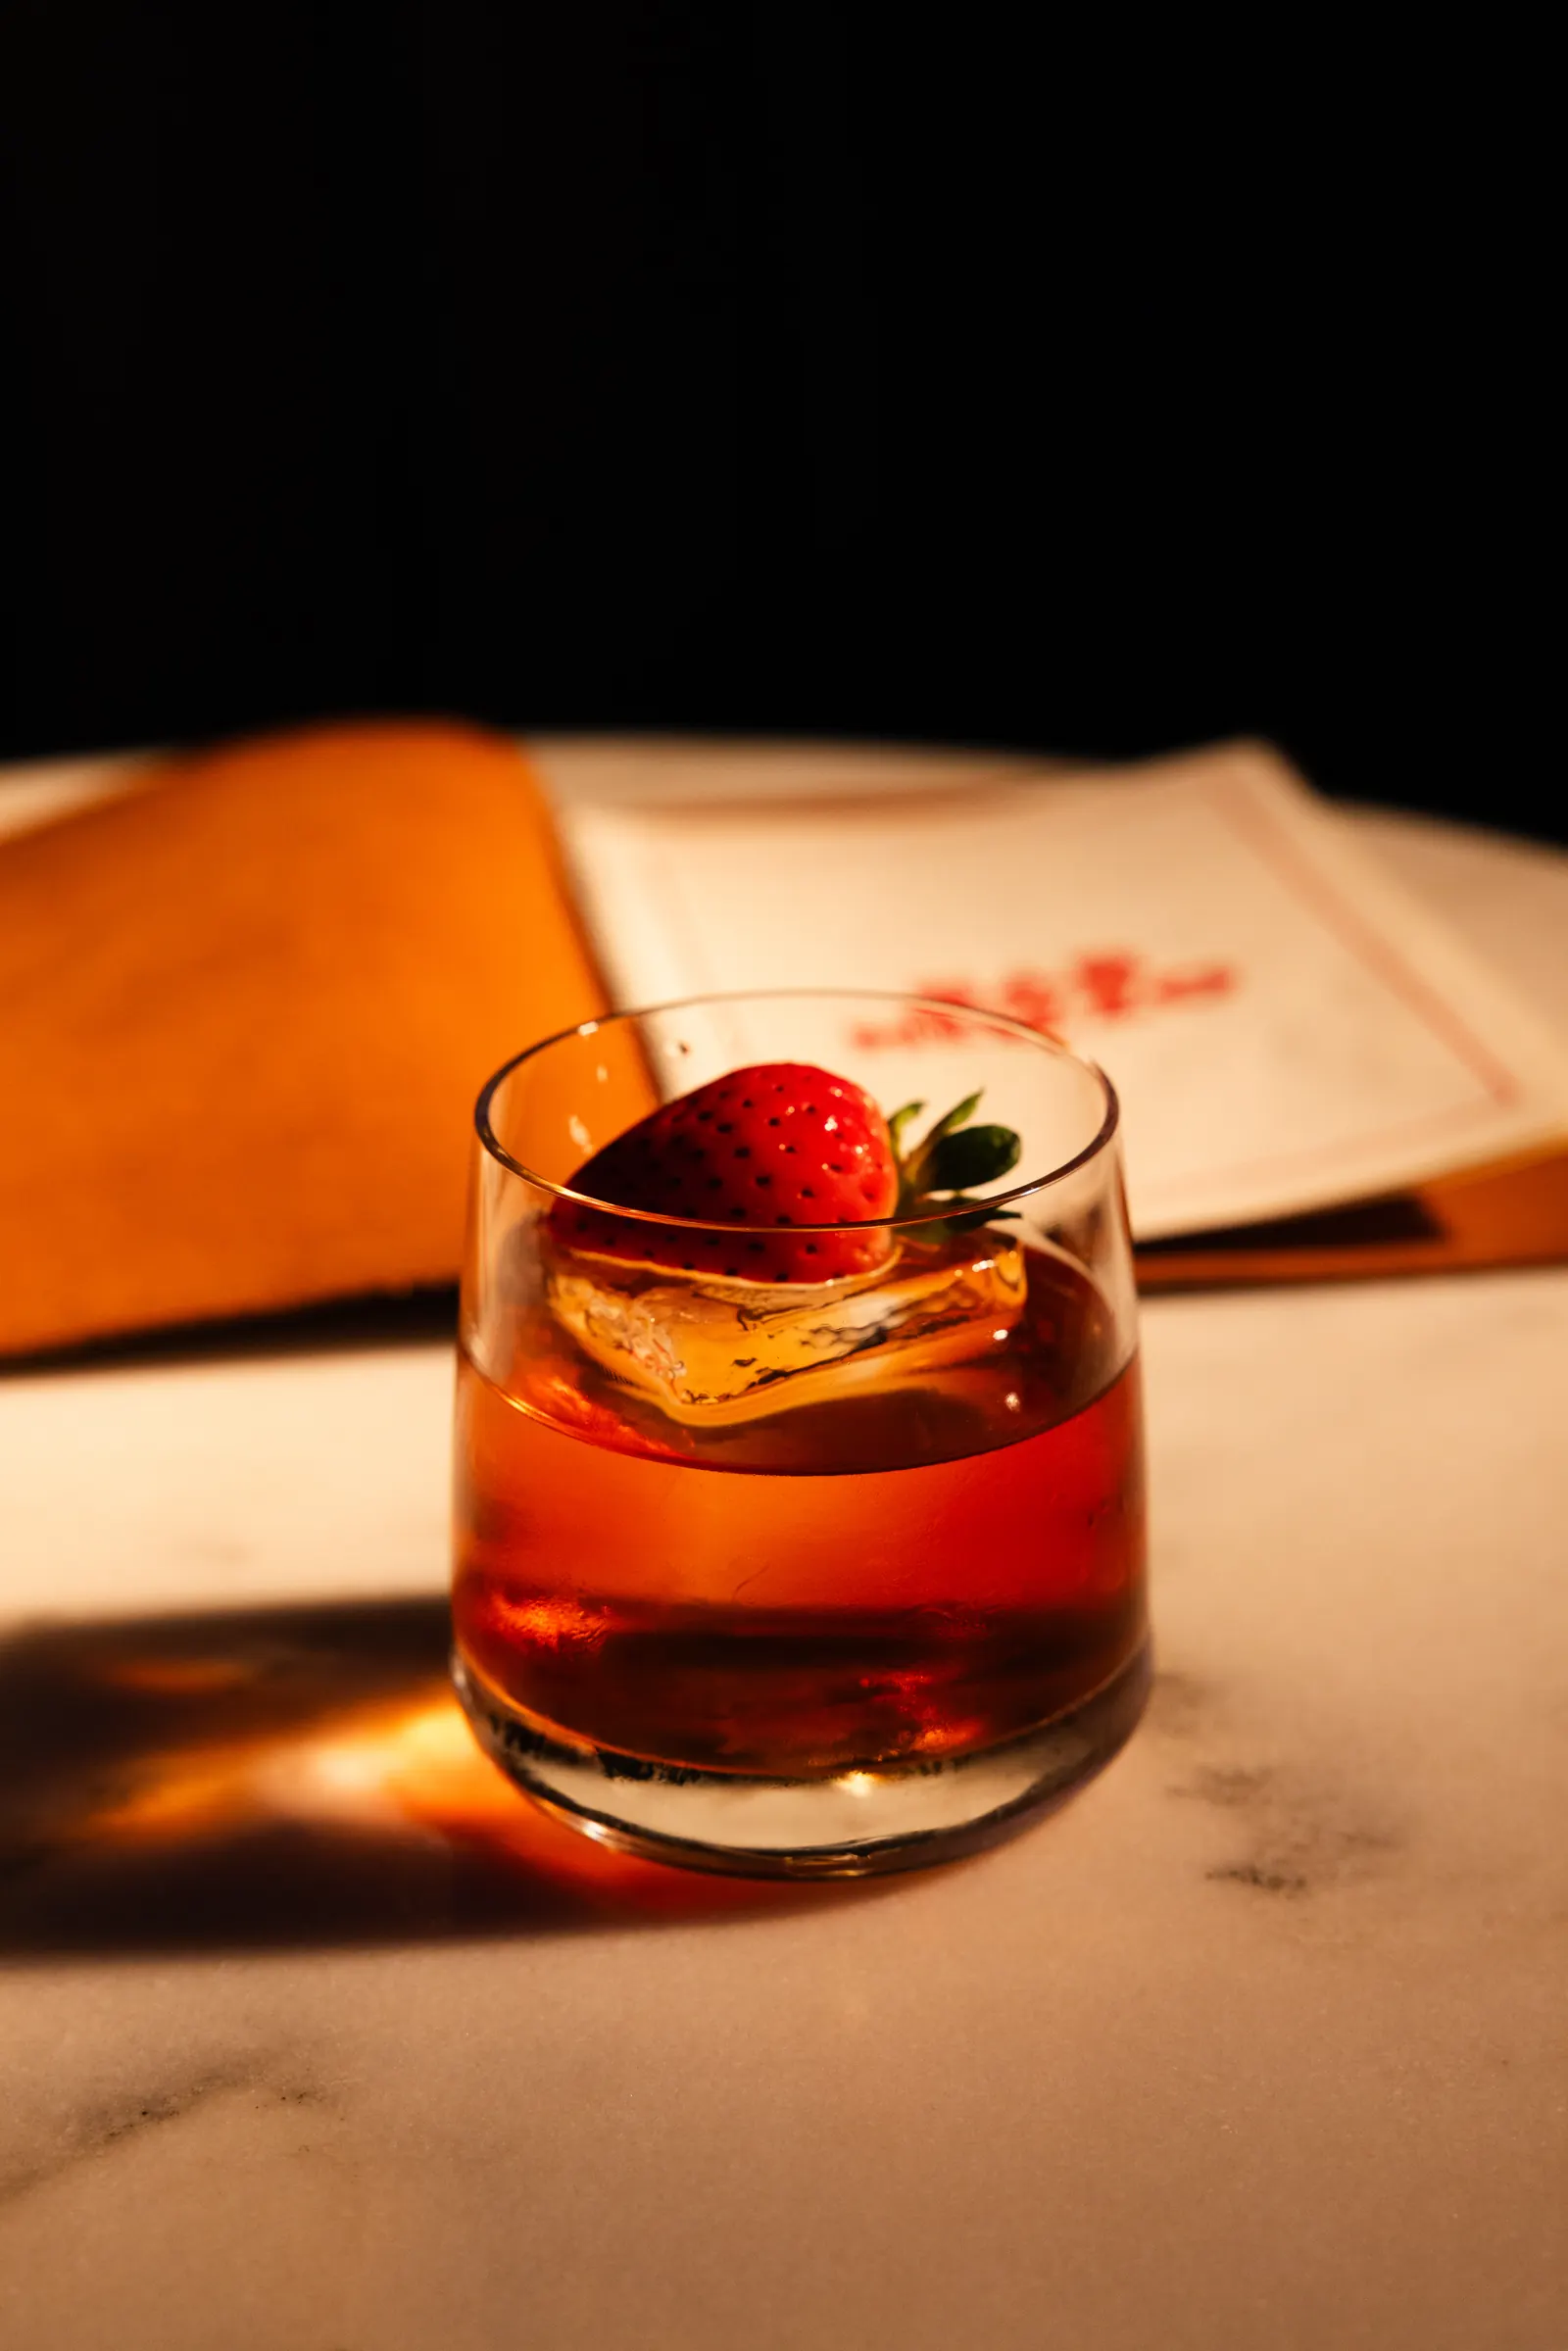
The gear I bring to a bar
I keep the kit small on purpose. Bars are tight, staff are moving, and nobody wants a film crew taking over their back bar on a Friday.
- Camera: Canon EOS R5. It handles high ISO, and the autofocus locks onto a glass rim in a dark room.
- Lens: Canon RF 24-70mm f/2.8L. It covers wide room shots and tight drink shots without swapping lenses mid-service. On the rare exterior shot I grab the 70-200.
- Flash: Godox AD200 Pro II, off camera, fired with a wireless trigger. It's small enough to hide behind a bottle and has high-speed sync up to 1/8000 s when I need it.
- Continuous light: Neewer MS60B bi-color LED on a light stand with a diffuser. It runs from 2700K to 6500K, so I can match warm bar light or cool window light.
- The window: free, and still the best light in most bars before they open.
Here's a quick look at my video light setup on Instagram.
Four ways to light a cocktail
1. Window light
If the bar has a window, I start there. Soft daylight from the side or slightly behind the drink makes the liquid glow and keeps highlights gentle. Put the drink a few feet from the window, turn it until the light passes through the glass, and shoot from the shadow side.
Daytime is also when bars are empty, which makes it the easiest time to work.
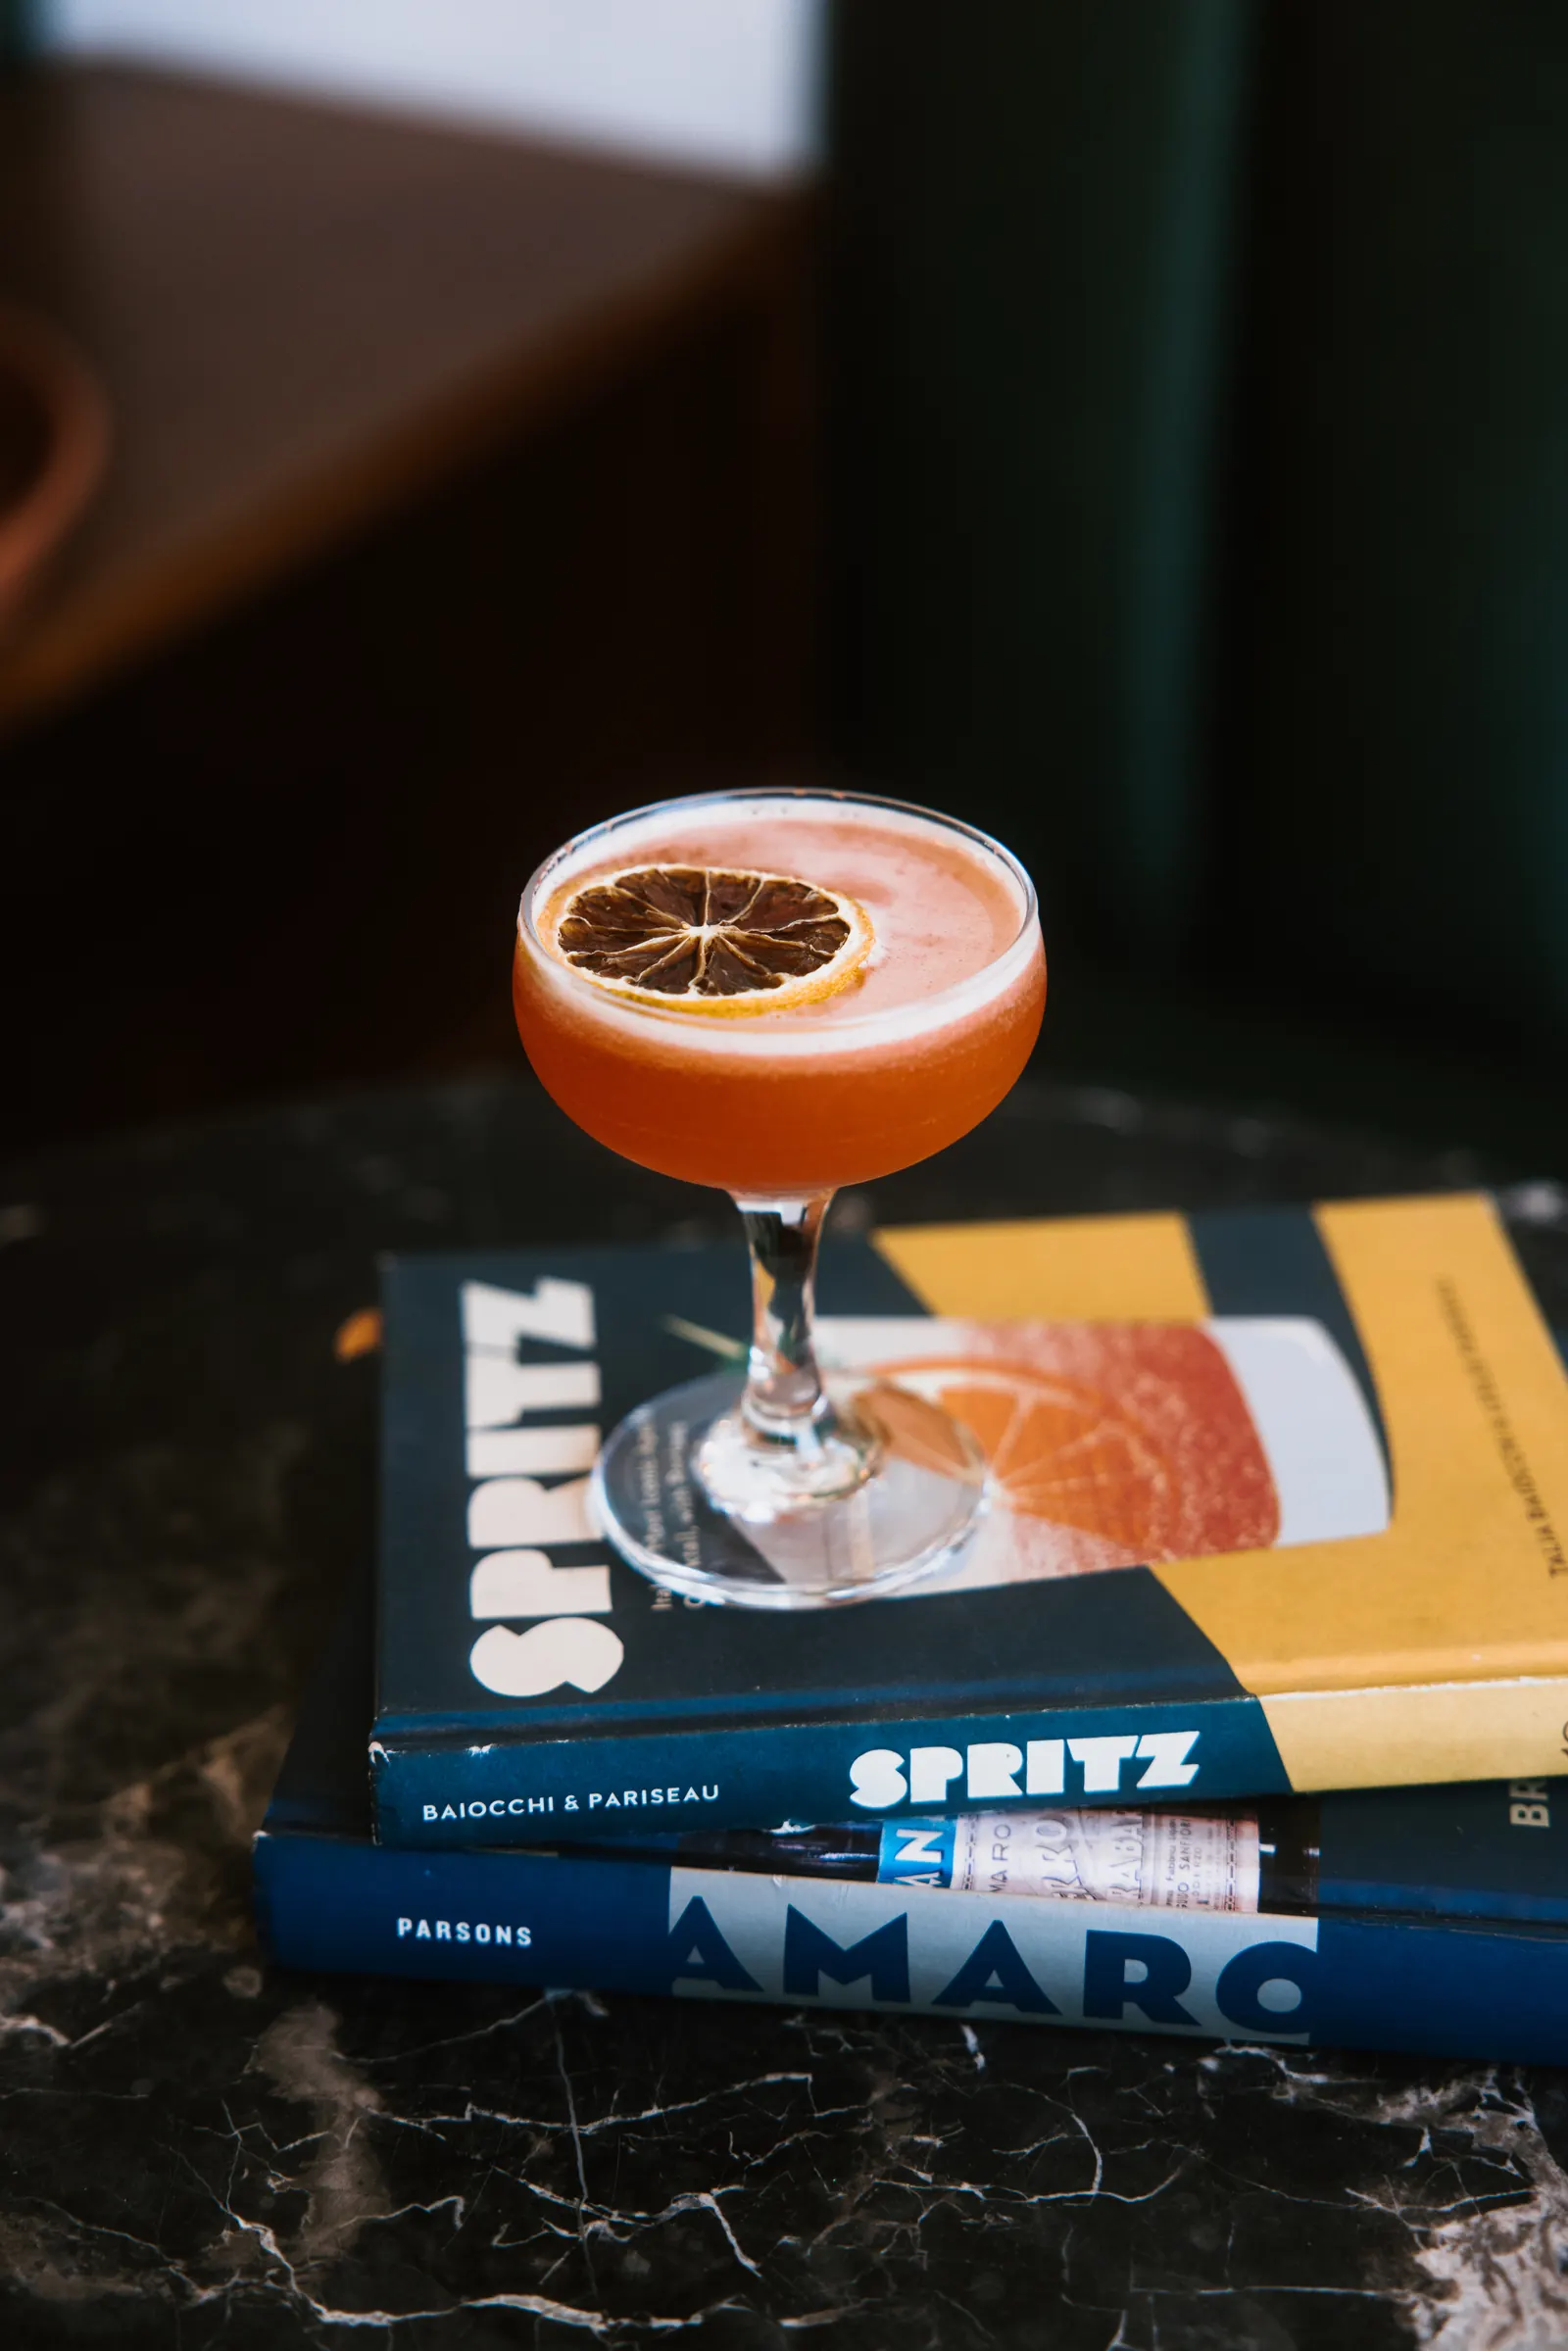
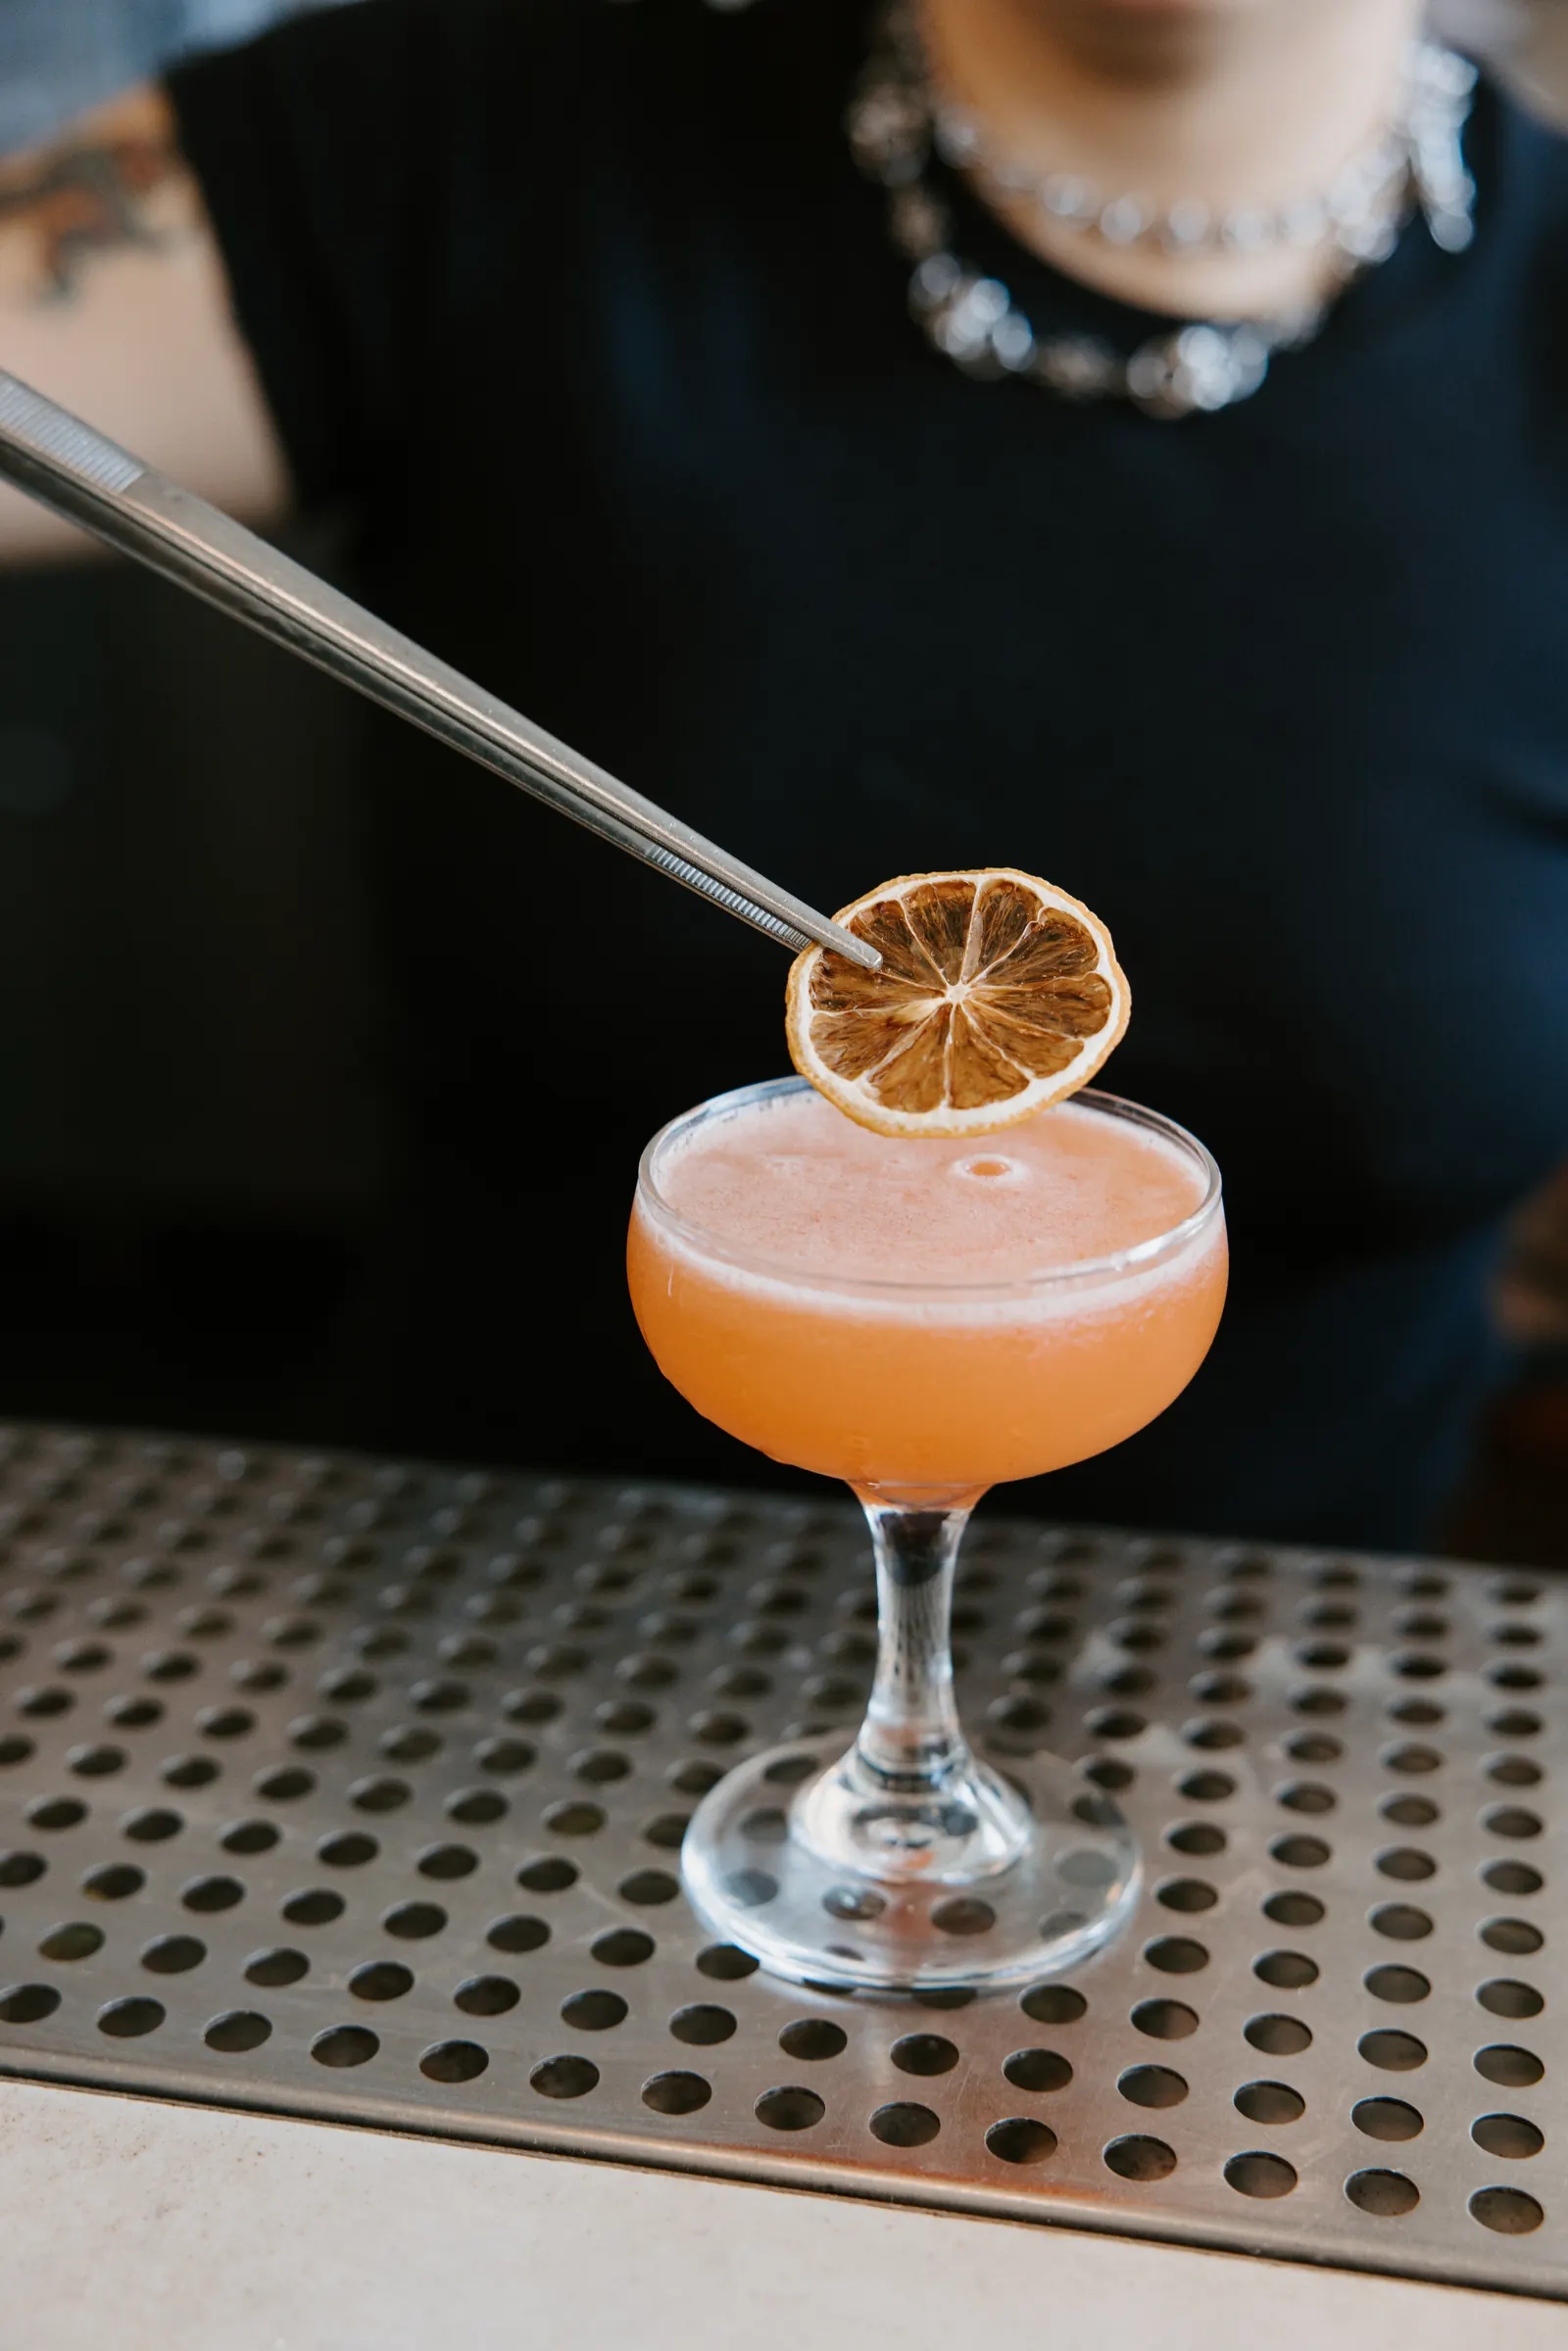
2. Off-camera flash
When the room is dark or I need total control, the Godox comes out. The trick is to take it off the camera. A flash on top of your camera flattens the drink and throws a hot spot straight back into the lens.
Instead, I put the flash behind the glass or off to one side and fire it with the wireless trigger. Light coming through the drink is what makes it glow. A little light from the front side fills in the label or garnish. Then I lower the flash power until it supports the bar's own light instead of overpowering it.
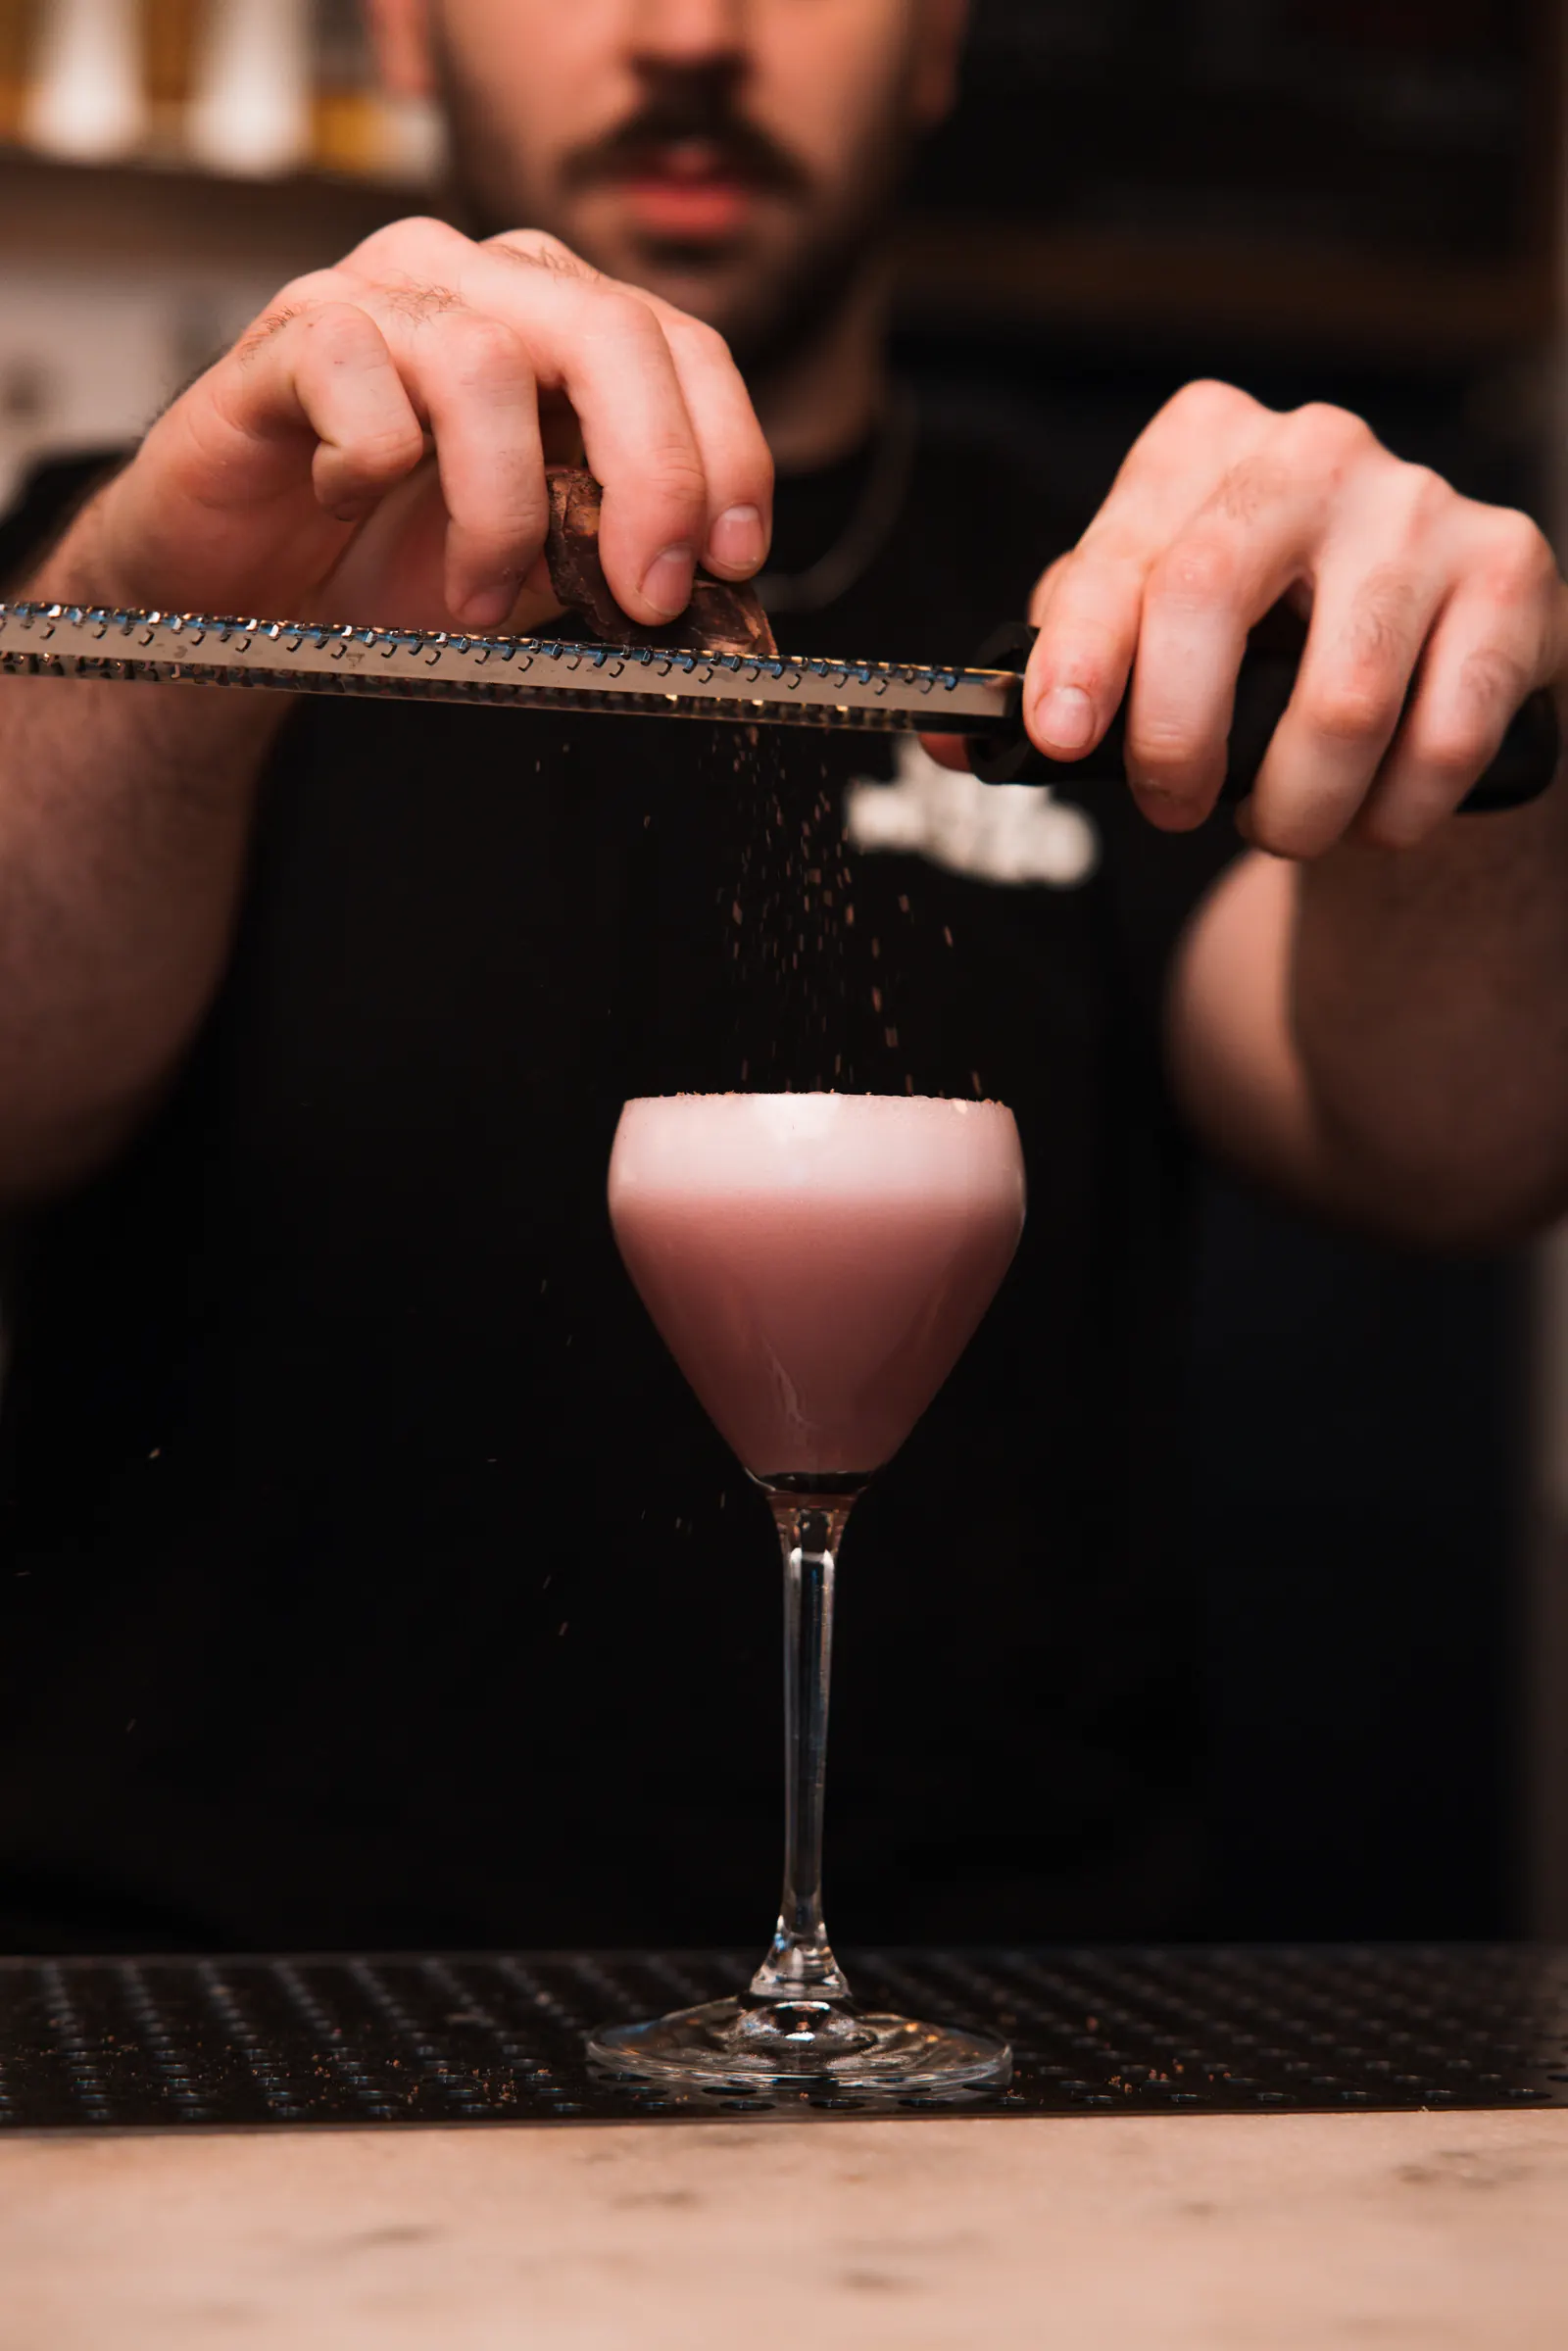
Clear and light drinks look best backlit. Dark or creamy drinks like an espresso martini need light from the side or front, since light can't pass through them.
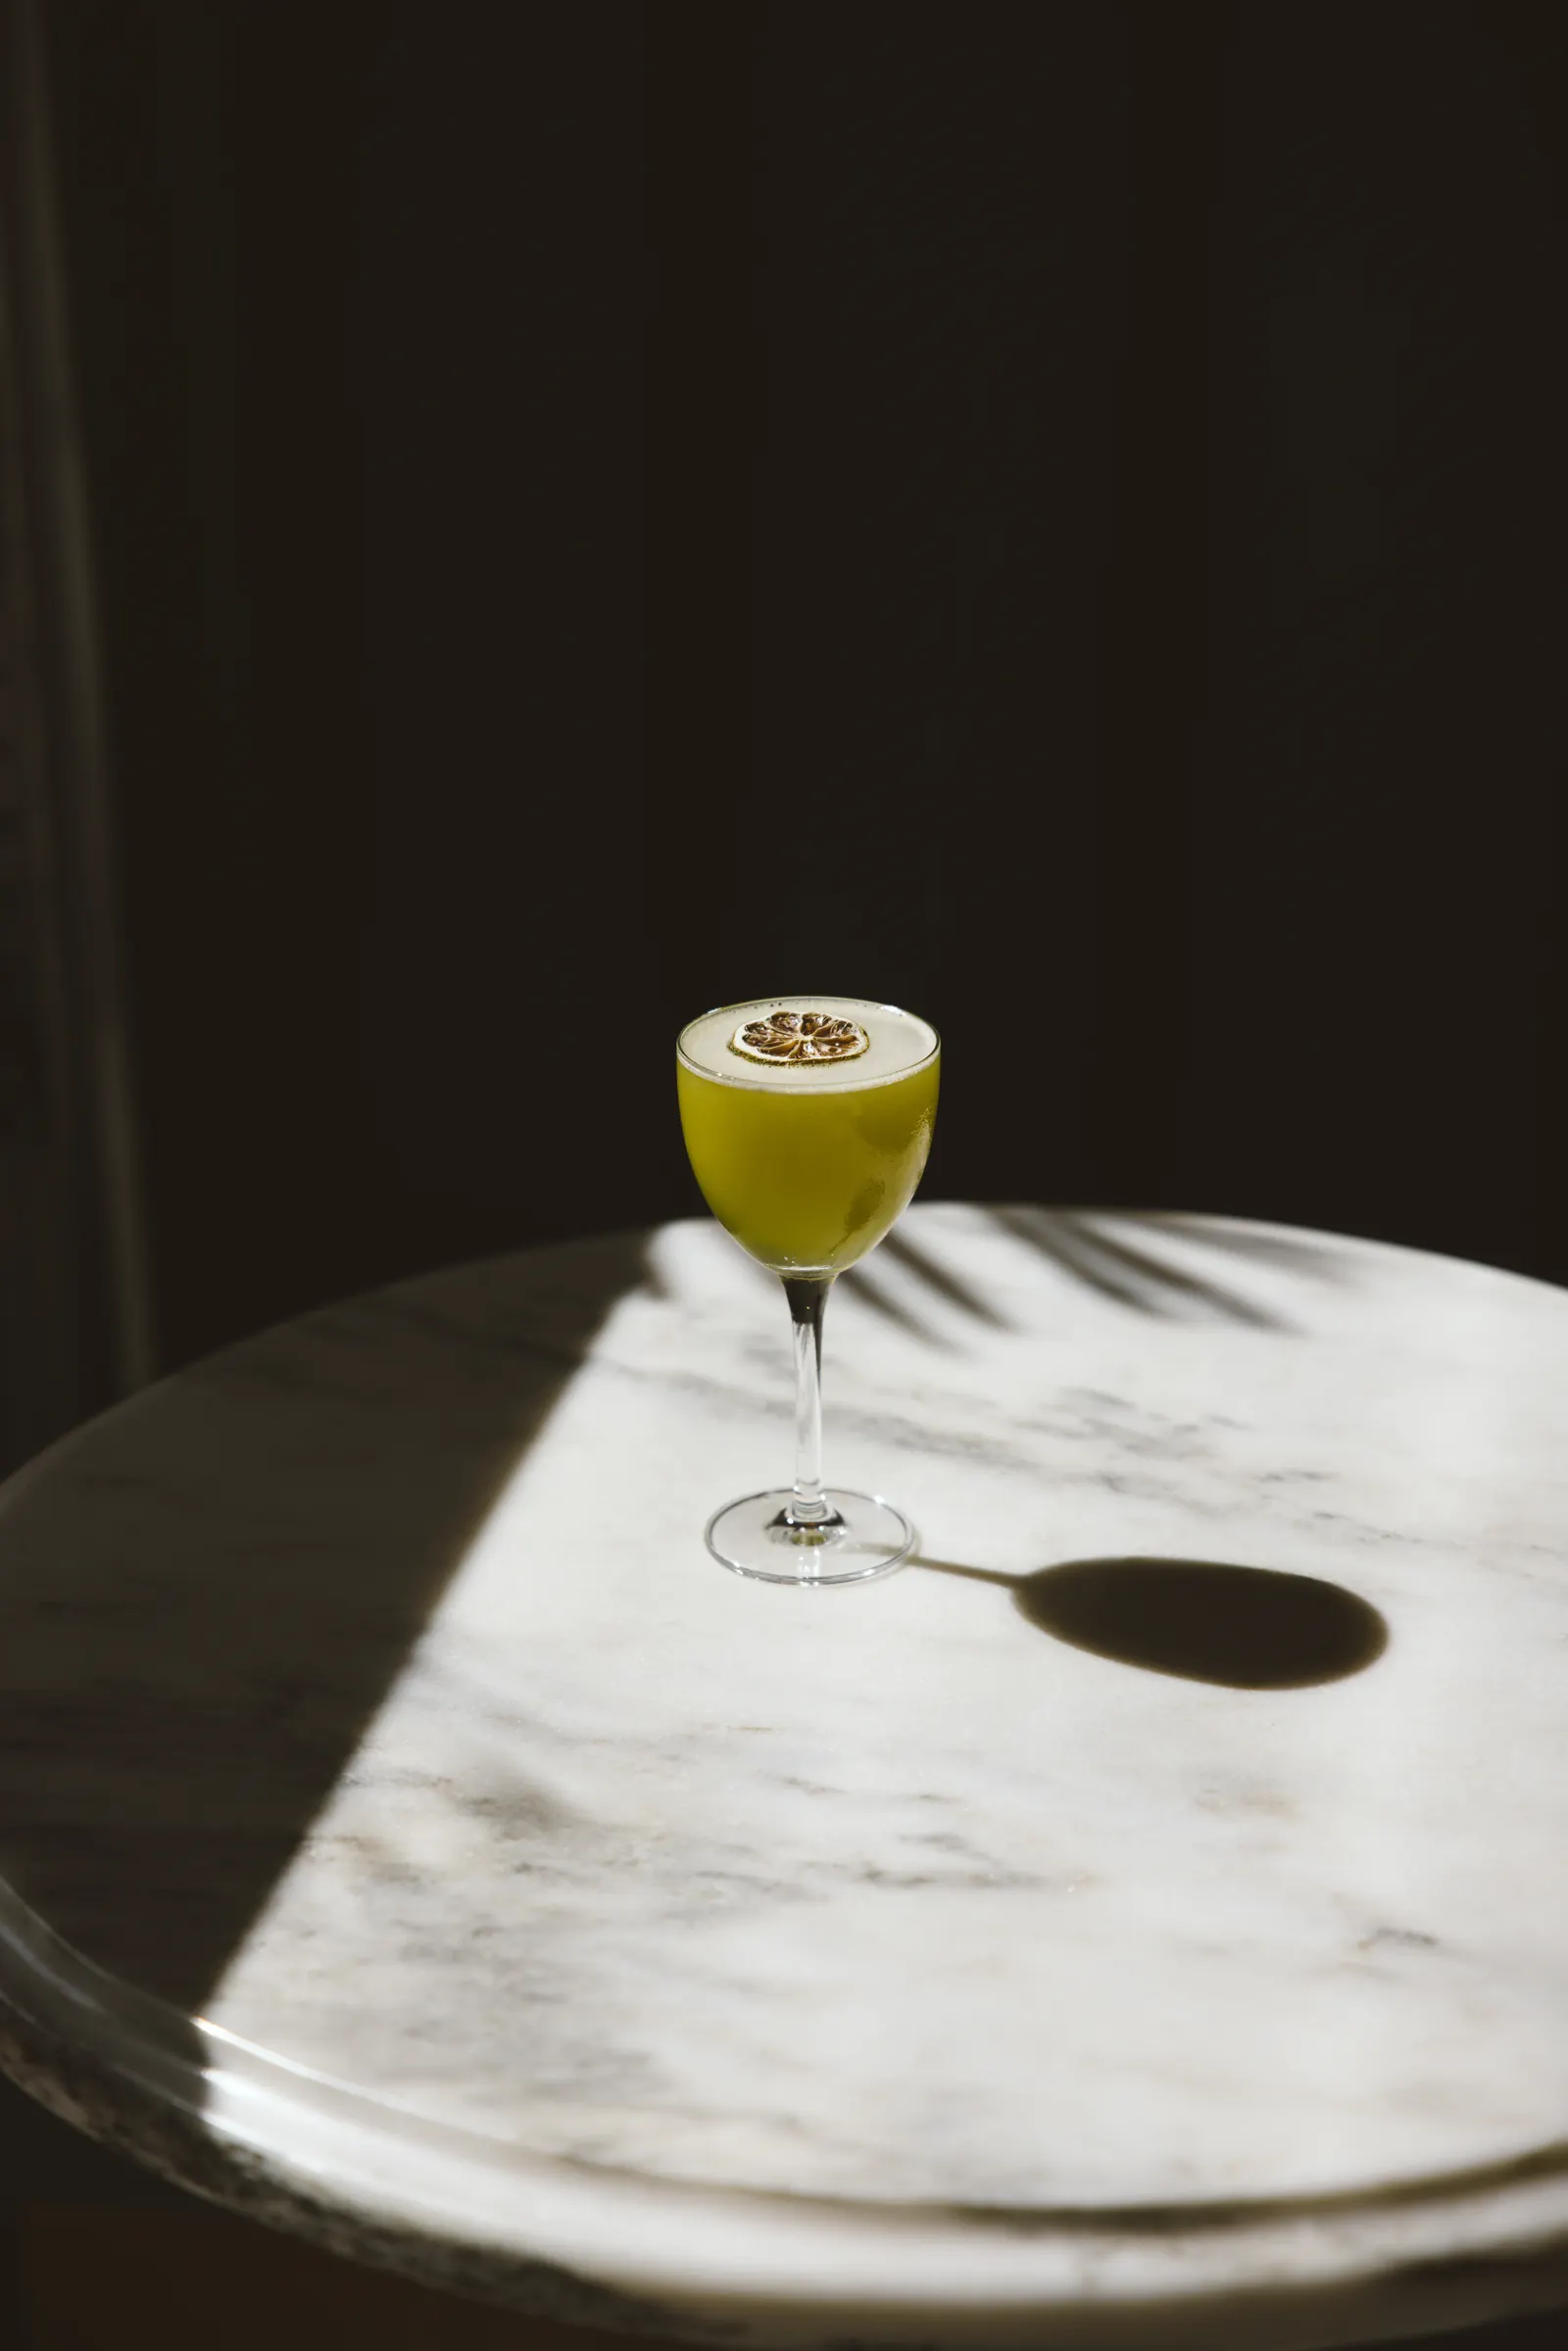
3. A continuous LED video light
The Neewer MS60B is my do-everything light. What you see is what you get, which makes it faster than flash when I'm learning a new room. And because it's continuous, the same light works for photos and for Reels in one session. For a client who needs both, that saves a lot of time.
I put it on a stand with the diffuser, set the color temperature close to the bar's warm lights, and place it to the side and slightly behind the drink. Plenty of the Reels on our feed are just my camera and this one light. Here's another example shot with only the camera and the Neewer.
4. The bar's own light
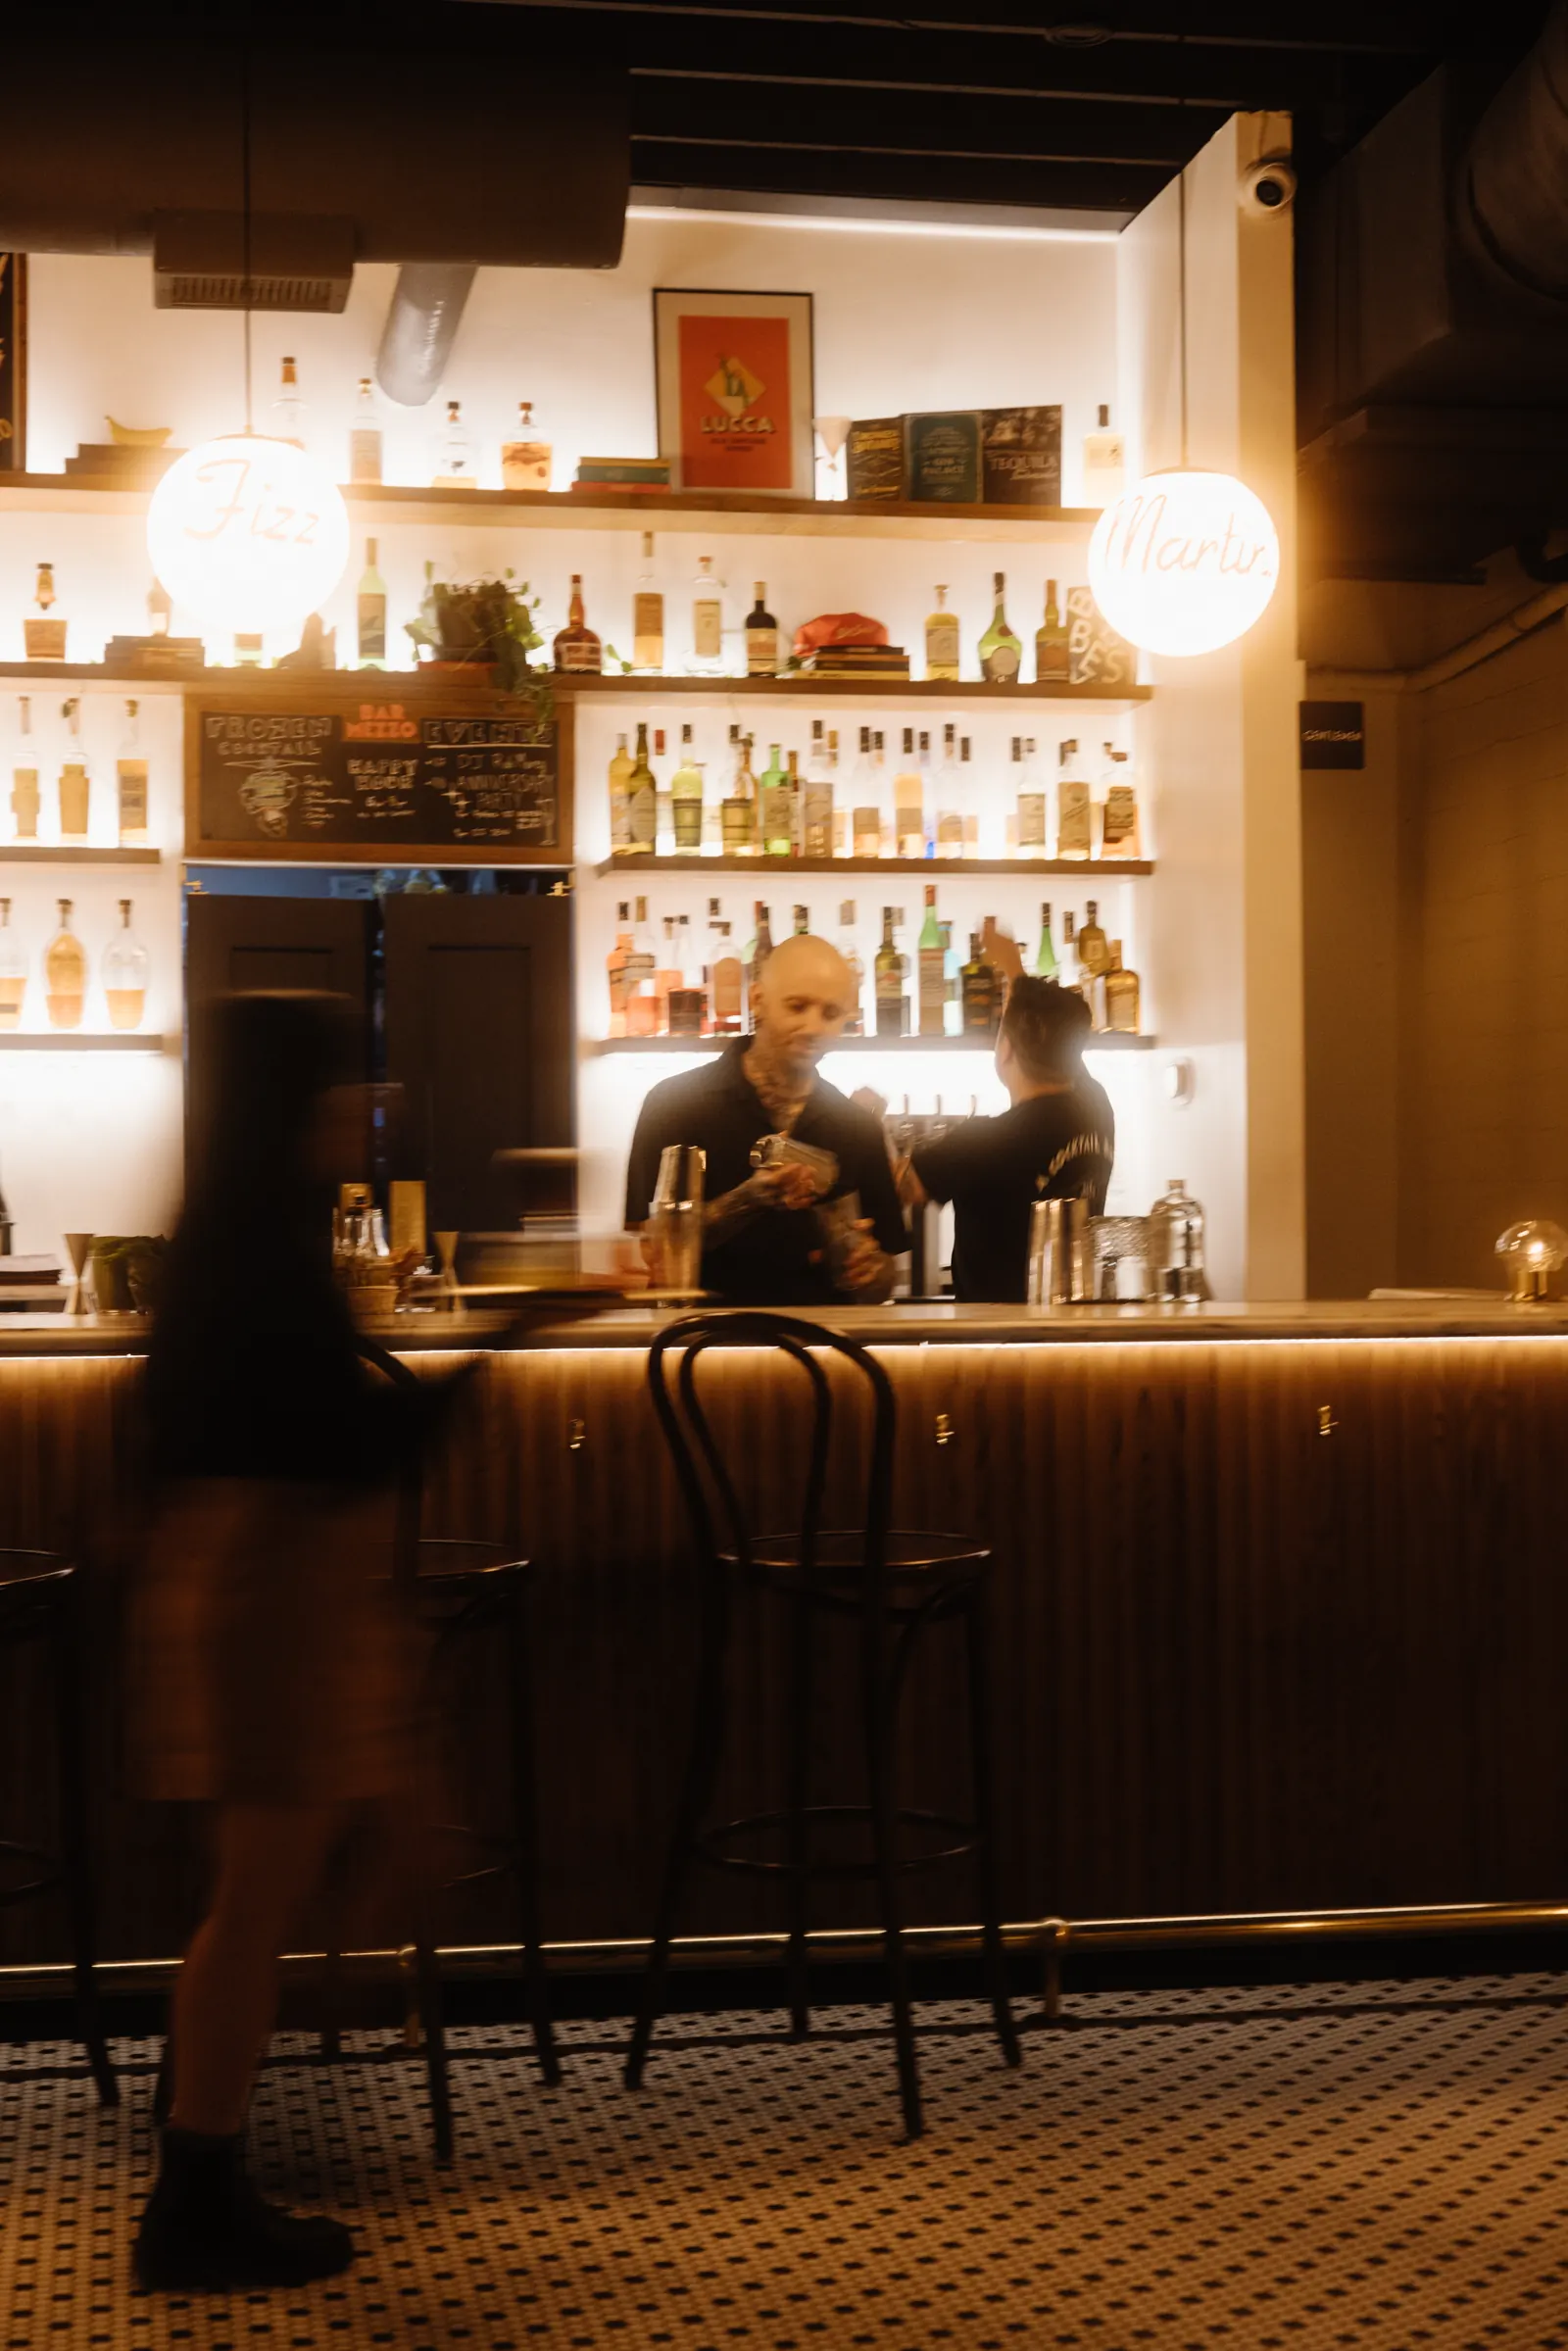
A good cocktail bar has already spent money on its lighting: back-bar glow, pendants, candles. I use it. I expose for the room so the bottles and lamps glow, then add flash or the LED only to the drink. That way the photo still feels like the bar and not like a studio.
Shooting motion: slow shutter for pours and shakers
This is the part most cocktail guides skip, and it's what makes a bar feel alive. Freeze everything and the photo looks staged. Let a little motion in and you can feel the room.
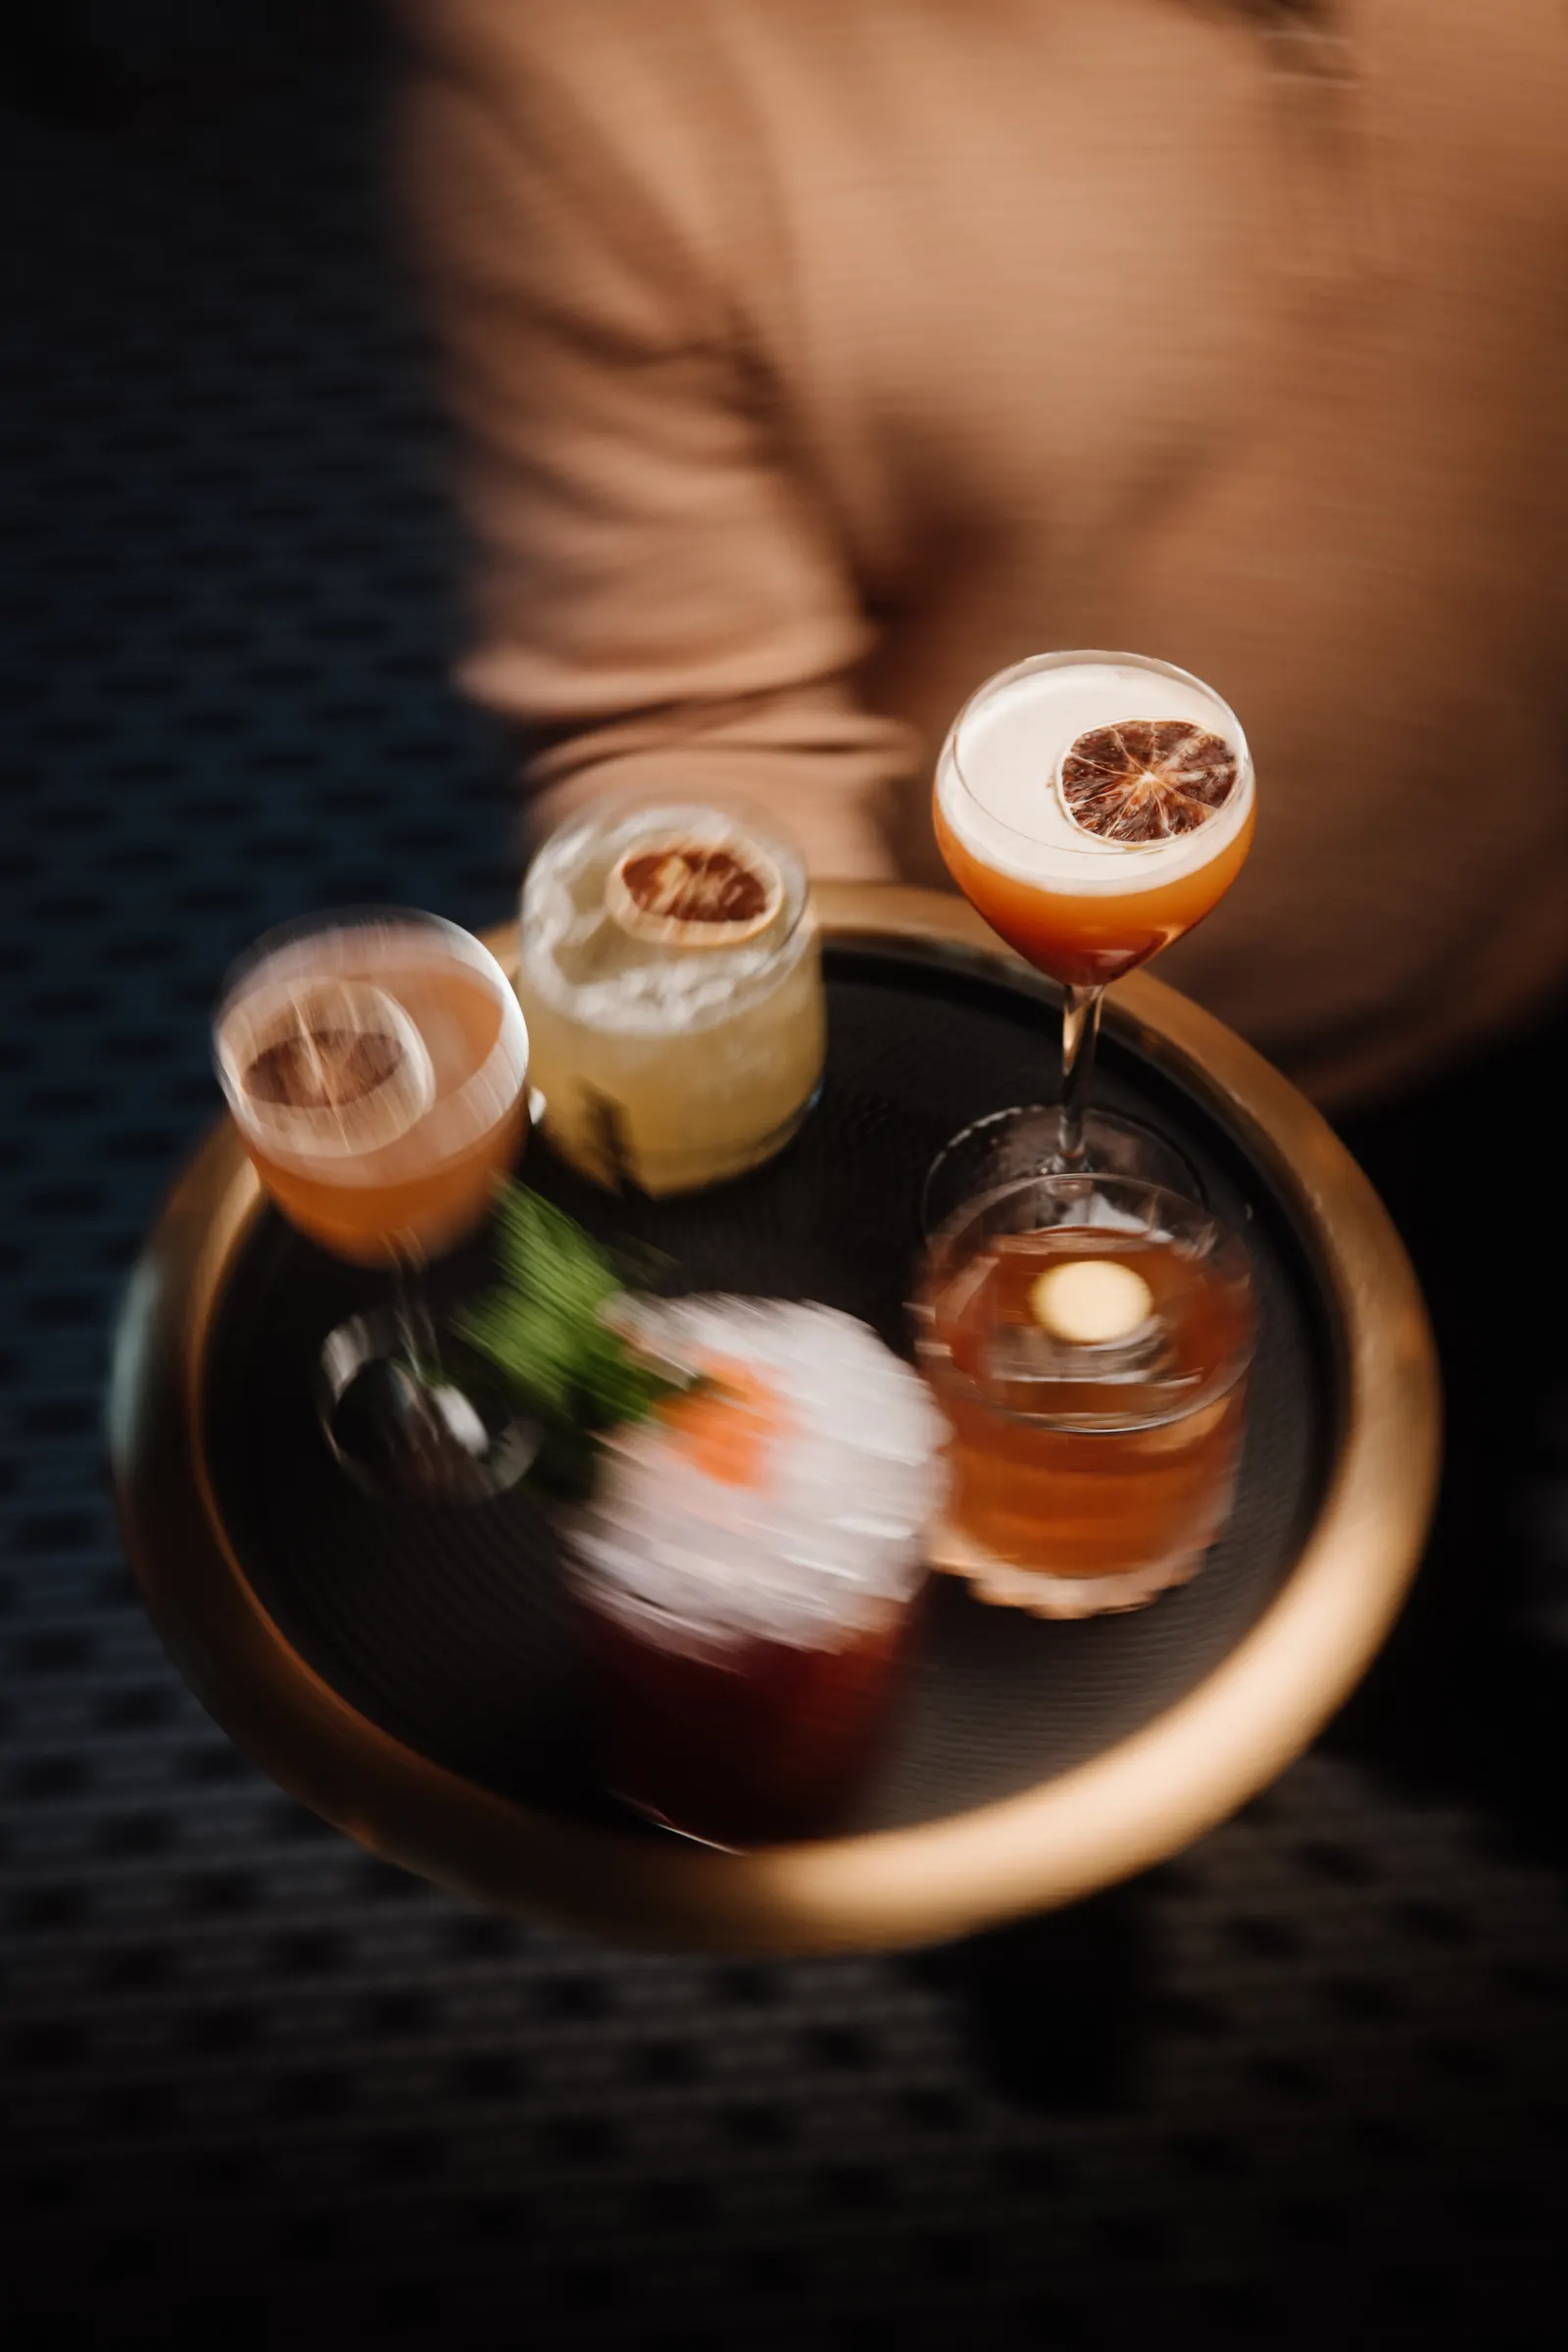
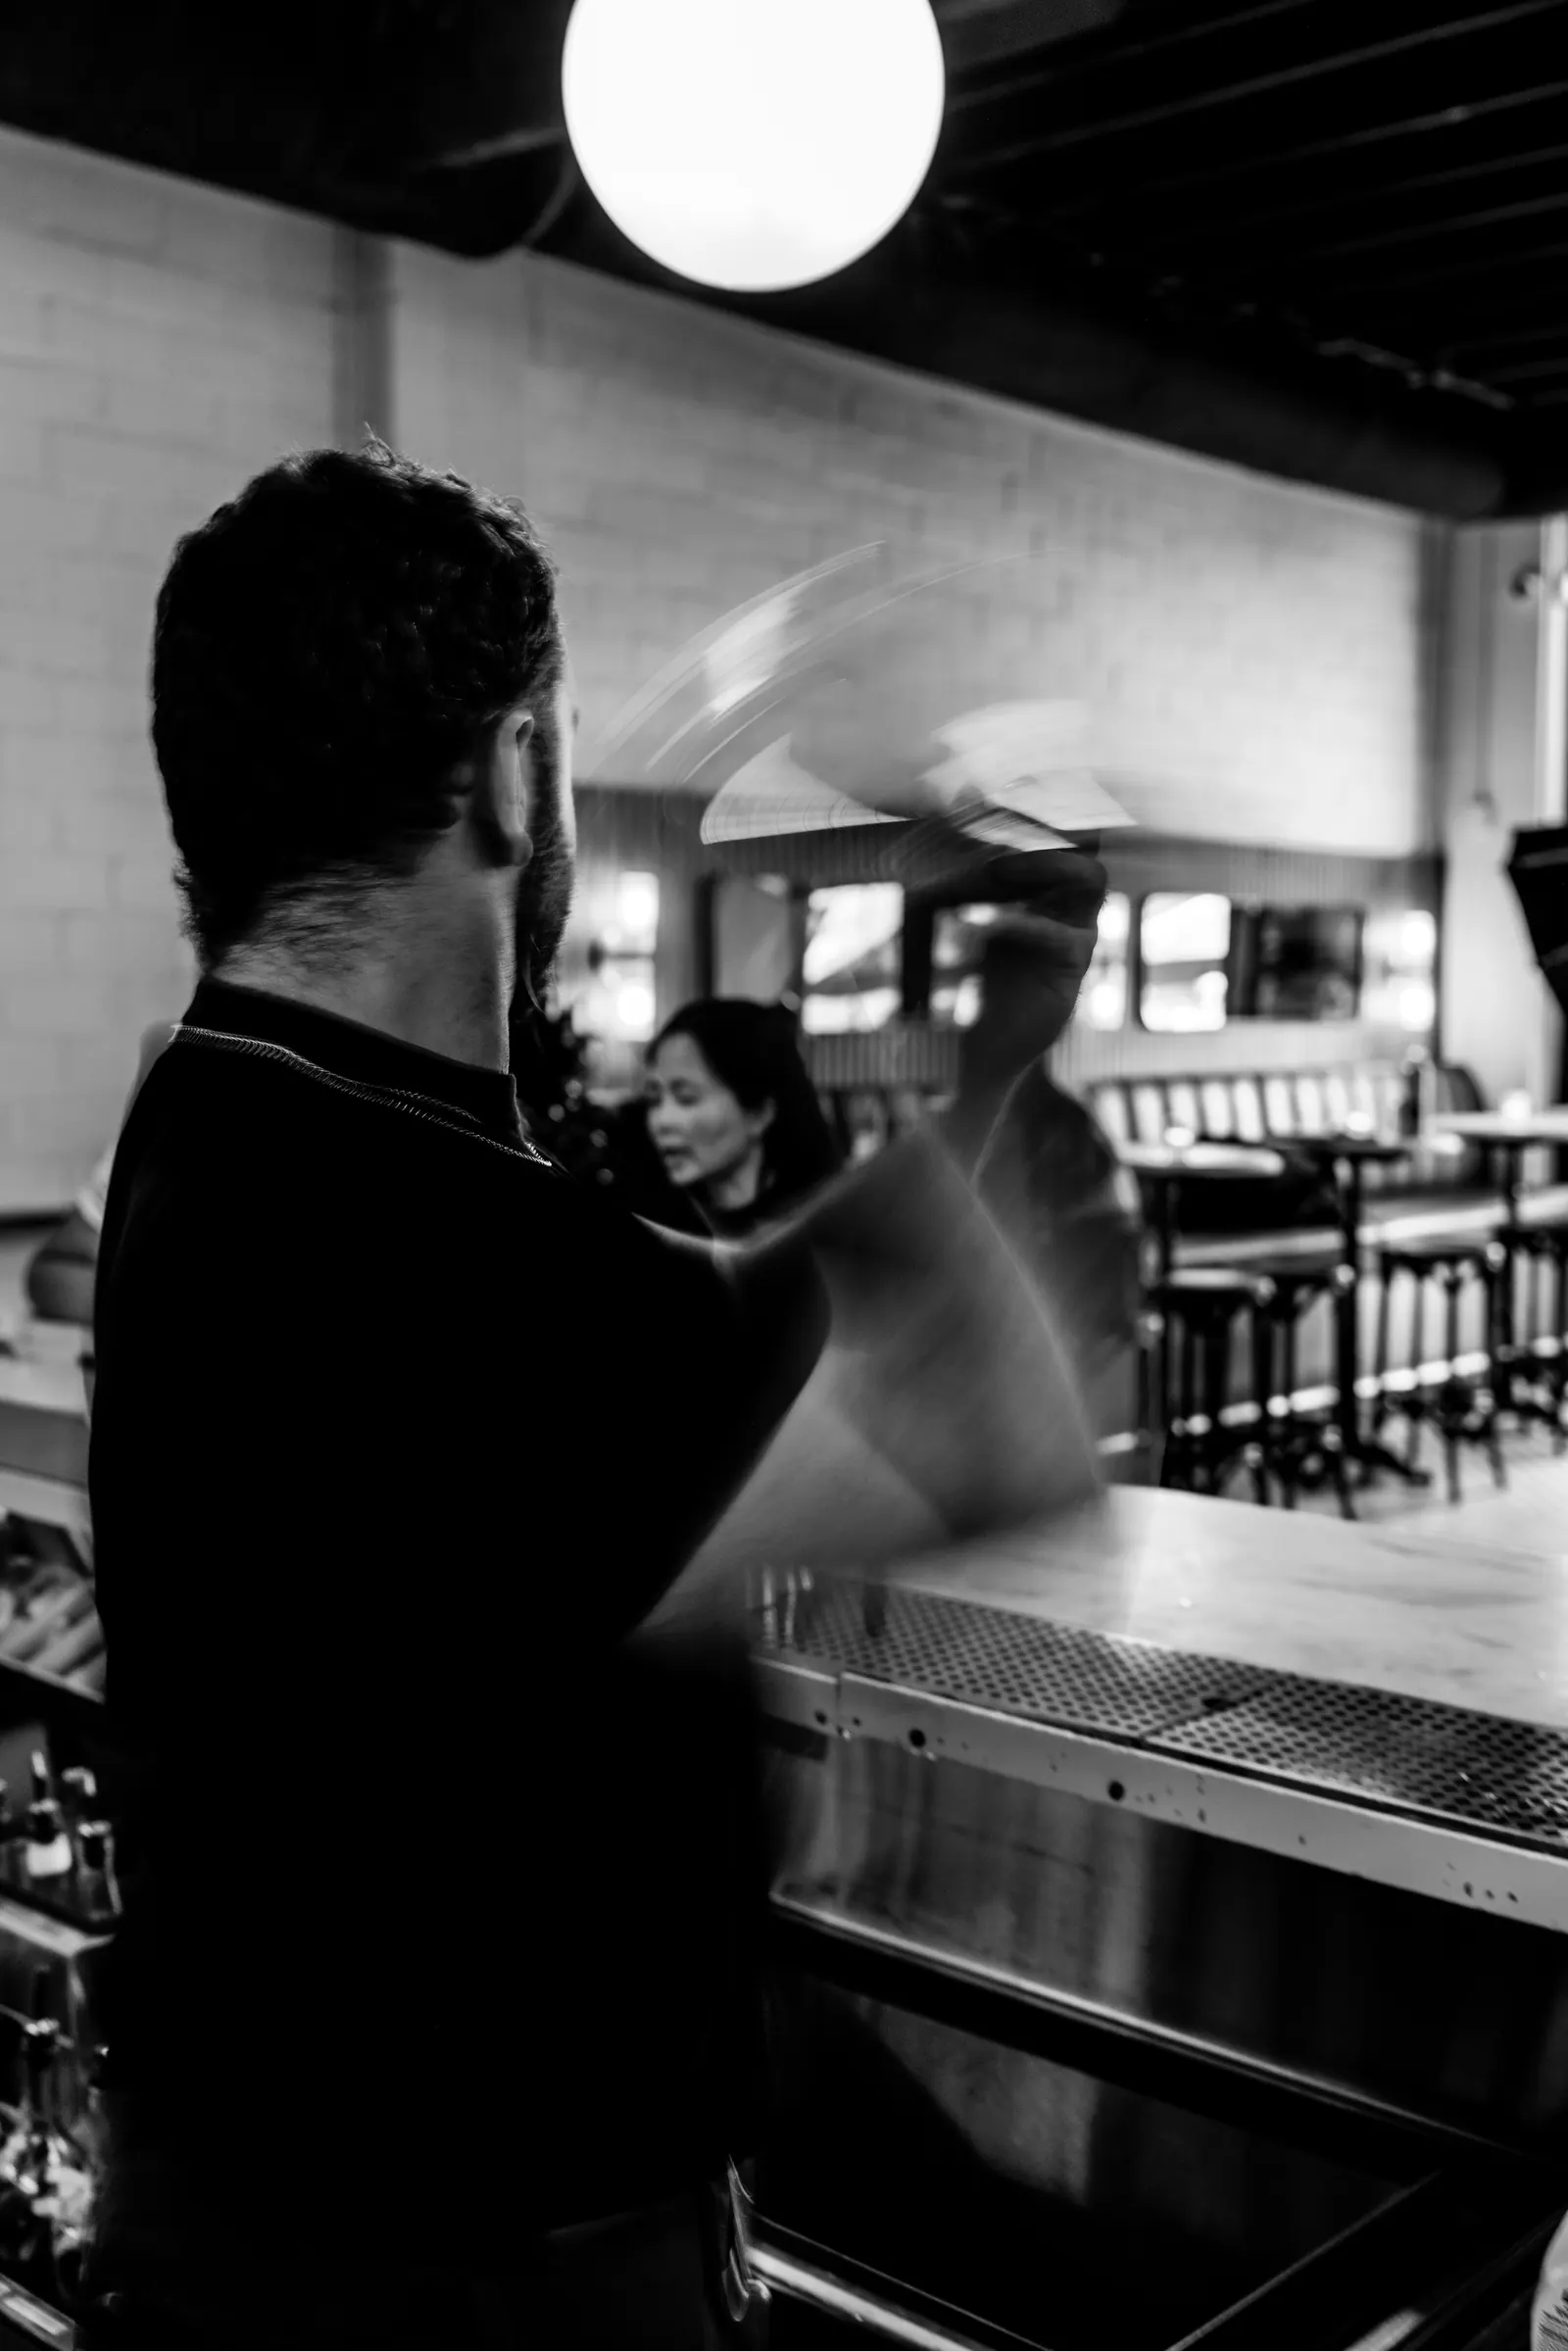
The move is simple: lower your shutter speed until moving things blur and still things stay sharp. On our Bar Mezzo shoots that meant 1/8 to 1/15 s.
- Pick what stays sharp. In the tray shot below, the server keeps walking, the drinks still read clearly, and the room around them streaks.
- Brace yourself. Elbows in, lean on the bar, exhale and shoot. The R5's stabilization handles the rest.
- Shoot in bursts. At 1/8 s, maybe one in five frames lands just right, so take a lot.
- Lower the ISO. A slower shutter lets in more light, so I drop to ISO 100 to 250 in brighter rooms to keep from blowing out the highlights.
- Add flash for the best of both. A pop of flash at a slow shutter, called dragging the shutter, freezes the drink while the ambient light still streaks. It takes practice, and it's worth it.
Glass, glare and the 30-second window
A cocktail looks its best for about half a minute. After that the ice melts, the foam settles, and condensation runs down the glass. So set up the shot with a stand-in drink, or an empty glass, and only call for the real one when the lights and angle are ready.
- Clean every glass. Fingerprints show up instantly in a backlit photo. Keep a microfiber cloth in your bag and wipe the glass right before it goes down.
- Move the light, not the drink. If you see a bright hot spot on the glass, shift the light a few inches until it slides off the edge.
- Watch the fill line. A drink poured short looks cheap. Ask the bartender to fill it the way it's served, then add the garnish last.
- Turn the glass. Most drinks have a best side, usually where the garnish sits.
Shooting in a bar that's open
Most of my bar work happens around real service, and this is where an agency shoot is different from a studio shoot.
- Book the slow hours. Shoot the drinks before doors open or during the early lull, then stay for the crowd shots once the room fills up.
- Work with one bartender. Ask for one point person who can make drinks while you shoot, so the rest of the staff can keep working.
- Plan the shot list with the owner. New menu items, best sellers, the drink people post about. One shoot day should cover a month of content.
- Match the white balance. Bars mix warm bulbs with cool LEDs. I set the video light to match the warm light and fix the rest in the edit.
Cocktail photography FAQ
What camera settings should I use for cocktail photography?
For a single drink on the bar, I start around 1/250 to 1/320 s, f/2.8 to f/5.6 and ISO 400 to 1250 at 70mm. For motion like a shaker or a tray moving through the room, I drop to 1/8 to 1/15 s and bring the ISO down to 160 to 250.
Should I use flash or natural light for drinks?
Use window light whenever the bar has it, because it is soft and makes glass glow. Bring in an off-camera flash when the room is dark or you need to freeze a pour, and a continuous LED light when you are also shooting video.
How do you photograph cocktails in a dark bar?
Keep the bar lights on for mood, light the drink itself with a separate source from the side or behind, and drag the shutter so the background glow still shows up.
What lens is best for cocktail photography?
A 24-70mm f/2.8 covers almost everything. I shoot most drinks at the 70mm end, which compresses the background and keeps the glass shape true.
How do I get rid of glare on glassware?
Move the light, not the glass. Light from behind or the side, check the glass for hot spots before you shoot, and wipe every fingerprint off first.